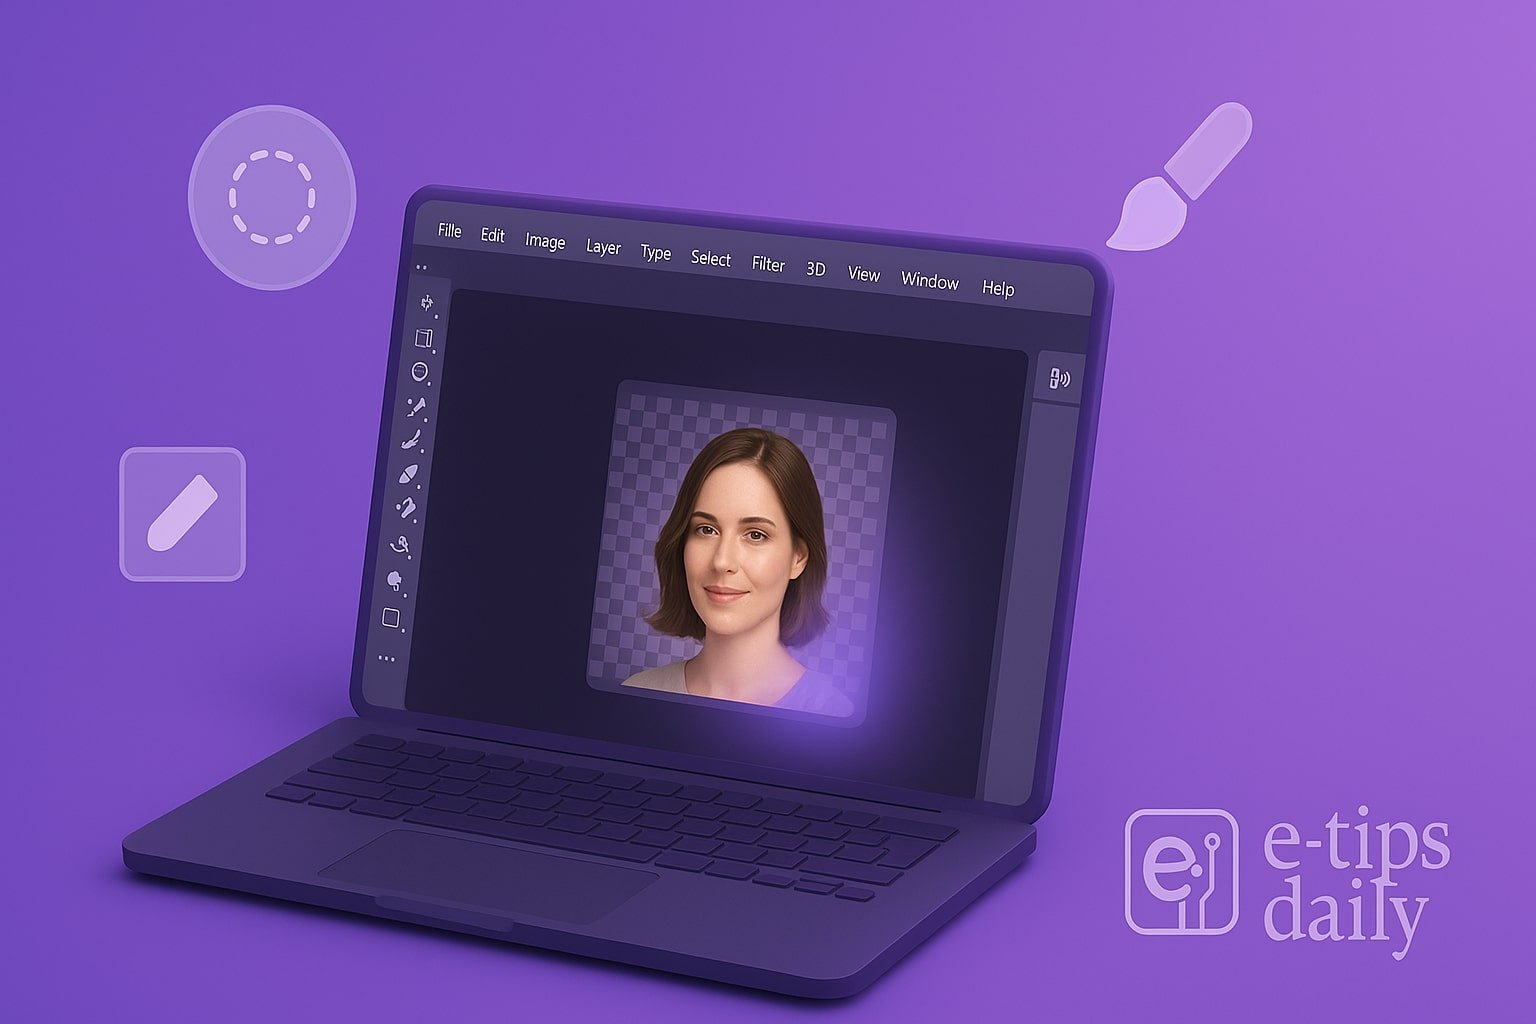
Creating a transparent background in Photoshop is essential when designing logos, product images, or web graphics. It ensures that your image blends seamlessly into any background it’s placed on. Whether you’re prepping assets for a website or making clean cutouts, mastering this process can save hours of editing later.
In this guide, you’ll learn how to remove backgrounds, preserve image quality, and export your file correctly for transparency. We’ll also cover common mistakes and advanced tips for pro users.
Step-by-Step: Make Background Transparent in Photoshop
1. Open Your Image in Photoshop
- Launch Photoshop and open the image you want to edit.
- Use File > Open or drag and drop the file into the workspace.
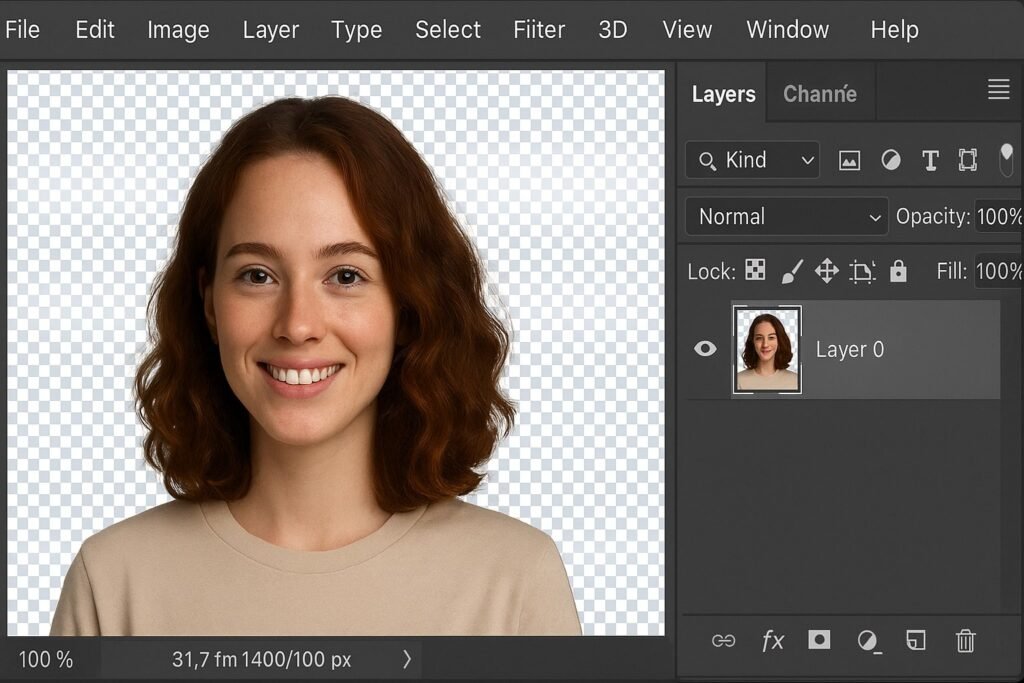
2. Unlock the Background Layer
- In the Layers panel, double-click the Background layer.
- Rename it or hit OK to convert it to a regular layer (Layer 0).

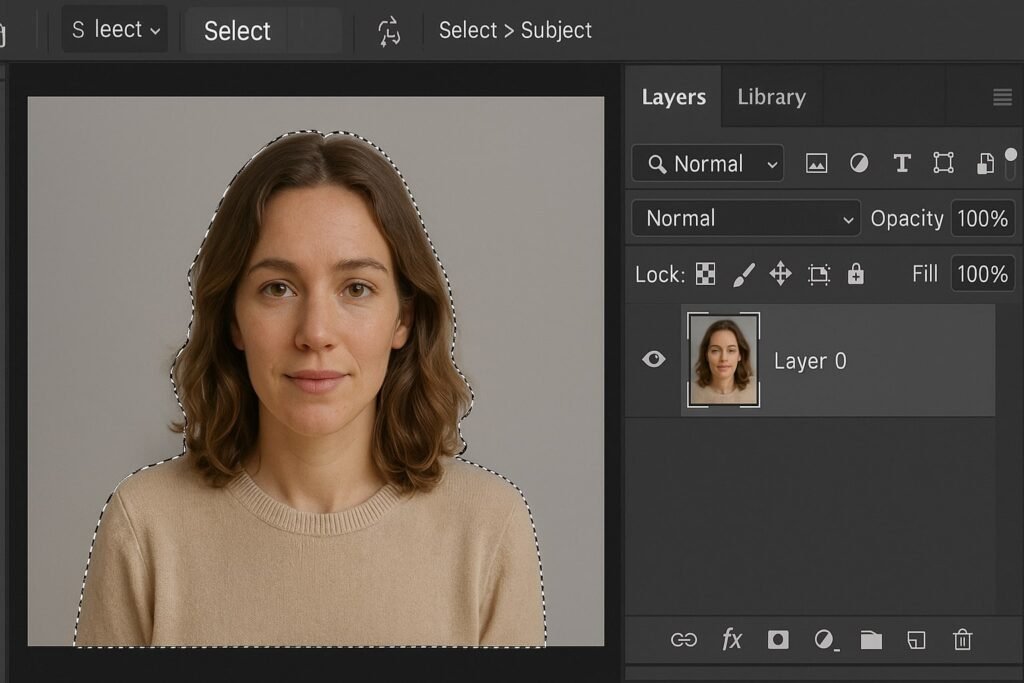
3. Select the Subject or Object
- Use Select > Subject (Photoshop uses AI to detect the main subject).
- Alternatively, use the Quick Selection Tool or Pen Tool for manual control.
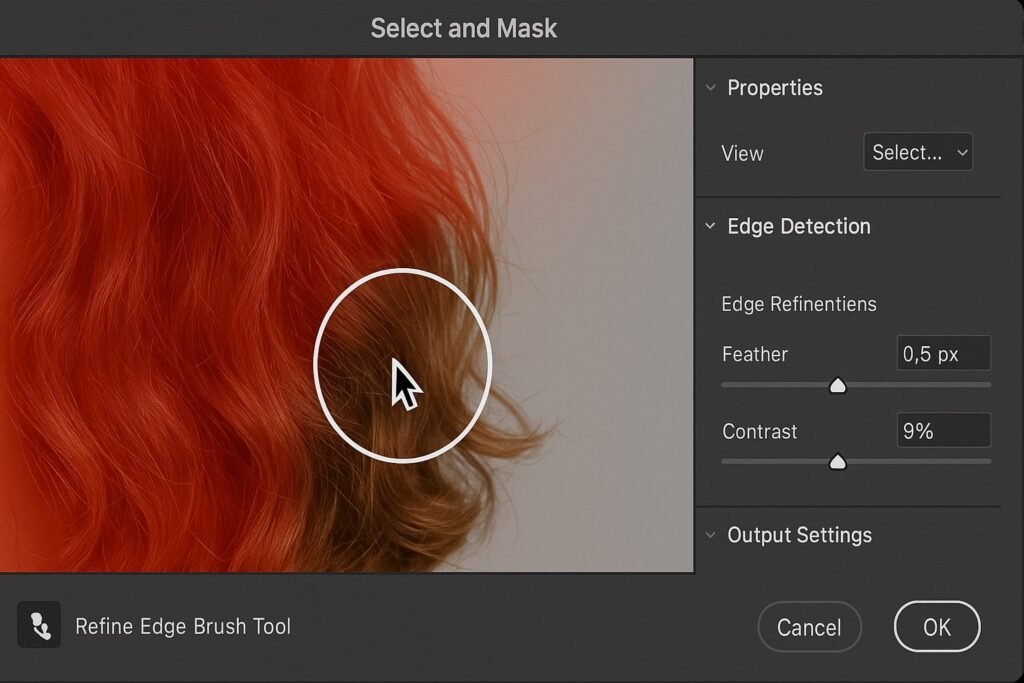
4. Refine the Selection
- Click Select and Mask in the top toolbar.
- Use tools like Refine Edge Brush for hair or fuzzy edges.
- Adjust Smooth, Feather, and Contrast sliders for cleaner edges.
5. Delete the Background
- Press Delete to remove the background (you should see a checkerboard pattern, indicating transparency).
- If the selection is inverted, press Shift + Ctrl + I (Windows) or Shift + Command + I (Mac) to invert it first.
6. Clean Up Remaining Areas
- Zoom in and use the Eraser Tool or Layer Mask to remove leftover spots or fringe.
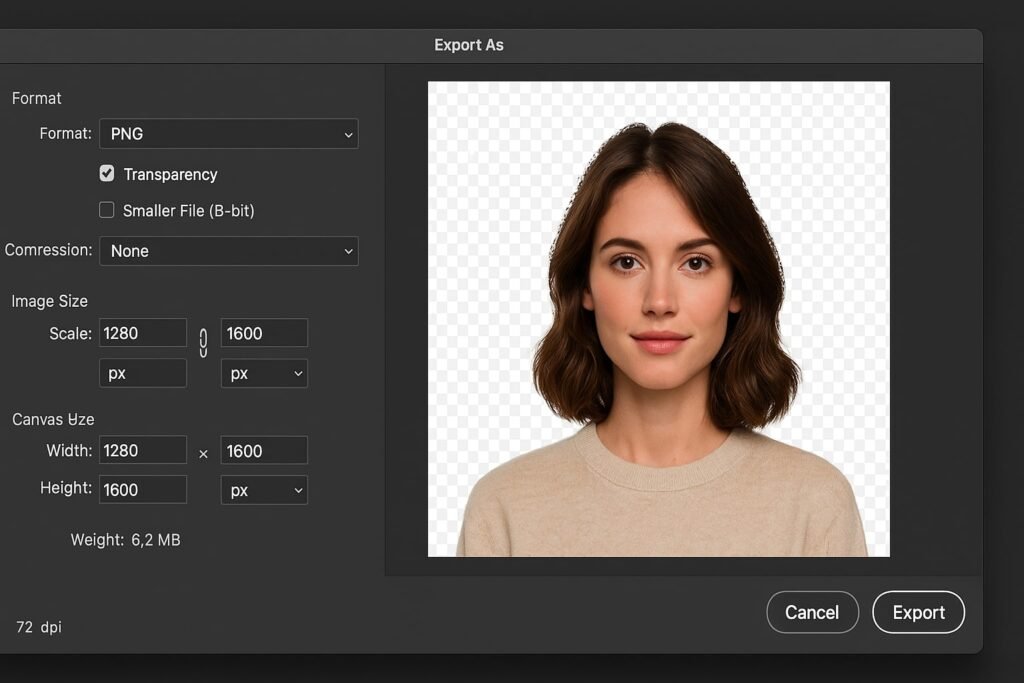
7. Save the File with Transparency
- Go to File > Export > Export As.
- Choose PNG format and make sure Transparency is checked.
- Click Export to save your image.
Pro Tips & Workflow Improvements
- Use Layer Masks instead of deleting: This keeps your edits non-destructive and reversible.
- Feather edges slightly for a more natural blend.
- Zoom to 200% when cleaning edges to avoid missing details.
- Try Remove Background (Quick Action in Properties panel) for fast jobs.
- Install plugins like Remove.bg Plugin for Photoshop for one-click cutouts.
Advanced Use Case: Batch Transparent Exports
If you’re editing multiple product shots:
- Use Actions to record your steps.
- Combine with Image Processor (File > Scripts > Image Processor) to batch-export images as PNGs with transparent backgrounds.
Troubleshooting & Common Mistakes
- Background still shows? Double-check that you deleted it, not just masked it.
- Saved as JPG? JPG doesn’t support transparency. Always use PNG, TIFF, or PSD.
- Checkerboard not showing? Go to View > Show > Transparency Grid to toggle it.
- Edges look jagged? Use Select and Mask to smooth or feather the selection.
- Transparency option greyed out? You may be in an unsupported format like Indexed Color. Convert to RGB via Image > Mode > RGB Color.
Conclusion
Creating a transparent background in Photoshop is a must-have skill for designers, marketers, and content creators. Once you master selections and layer management, you’ll have clean, professional-looking images that can be used anywhere.
Next up, try learning how to add drop shadows to transparent objects or save images with transparency for webusing Photoshop’s Save for Web (Legacy) feature!