
Captions aren’t just for accessibility—they improve viewer retention, help with sound-off viewing, and boost SEO. Adobe Premiere Pro makes it easier than ever to generate captions automatically with its Speech to Text feature.
In this tutorial, you’ll learn how to add captions automatically in Premiere Pro, customize them, and avoid common issues. By the end, you’ll have a professional, captioned video ready for any platform.
Let’s dive in.
Step-by-Step: Add Captions Automatically in Premiere Pro
Import Your Video into Premiere Pro
- Launch Premiere Pro and create a new project.
- Go to File > Import and select your video file.
- Drag the video onto the timeline to begin editing.
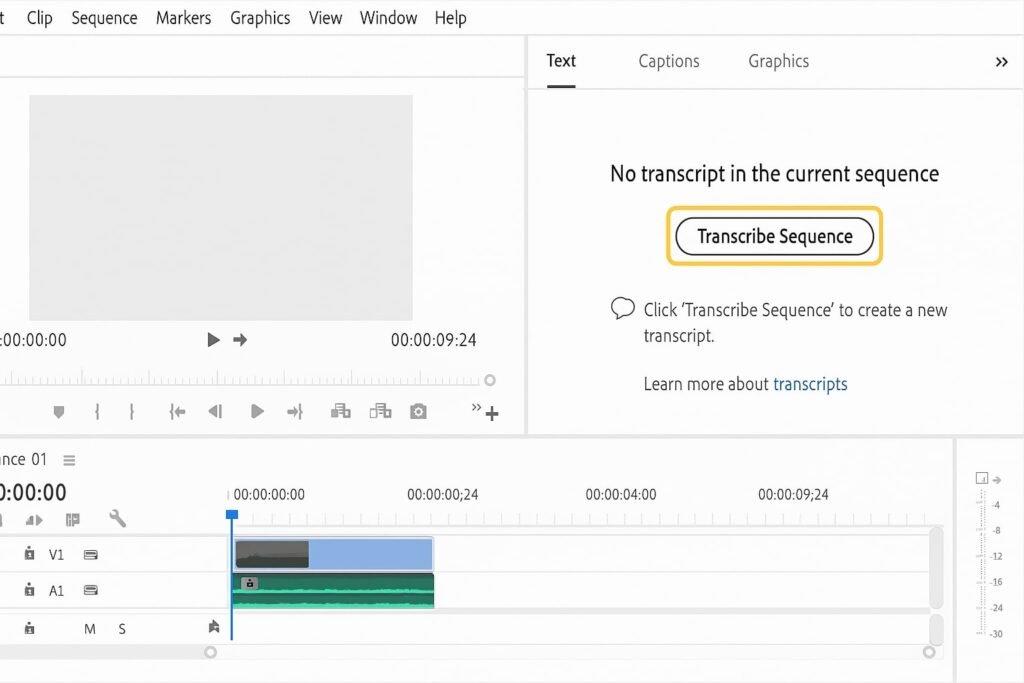
Open the Text Panel
- Go to Window > Text to reveal the Text panel.
- Click the Transcribe sequence button to get started.
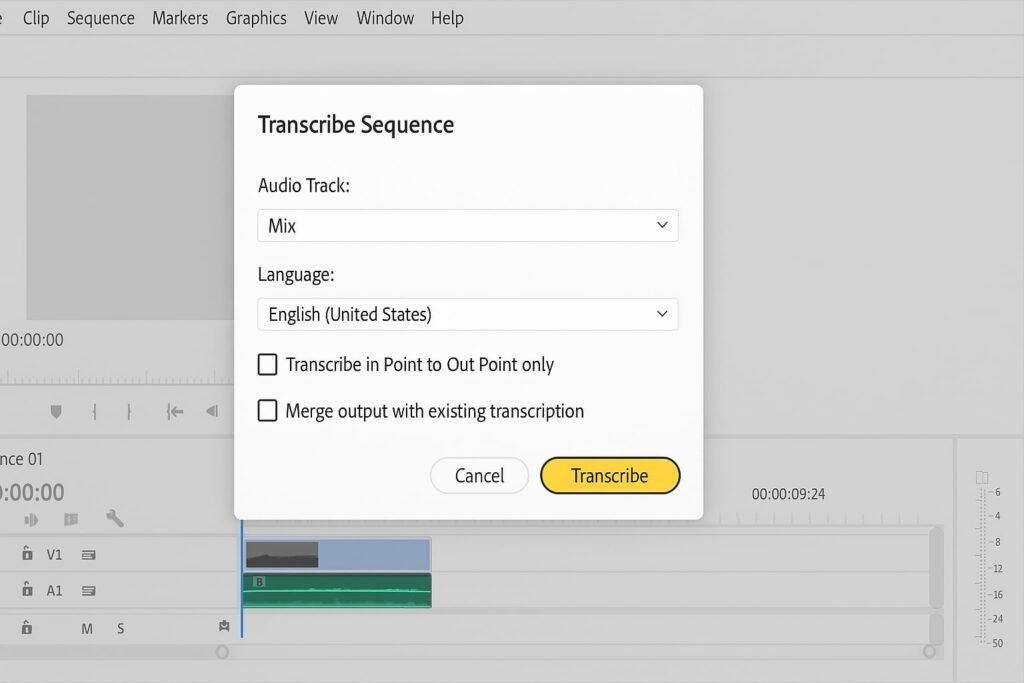
Set Up Transcription Settings
- In the dialog box:
- Select the audio track with the dialogue.
- Choose the language spoken.
- Enable ‘Merge output with existing transcription’ if you’ve edited speech across clips.
- Click Transcribe.
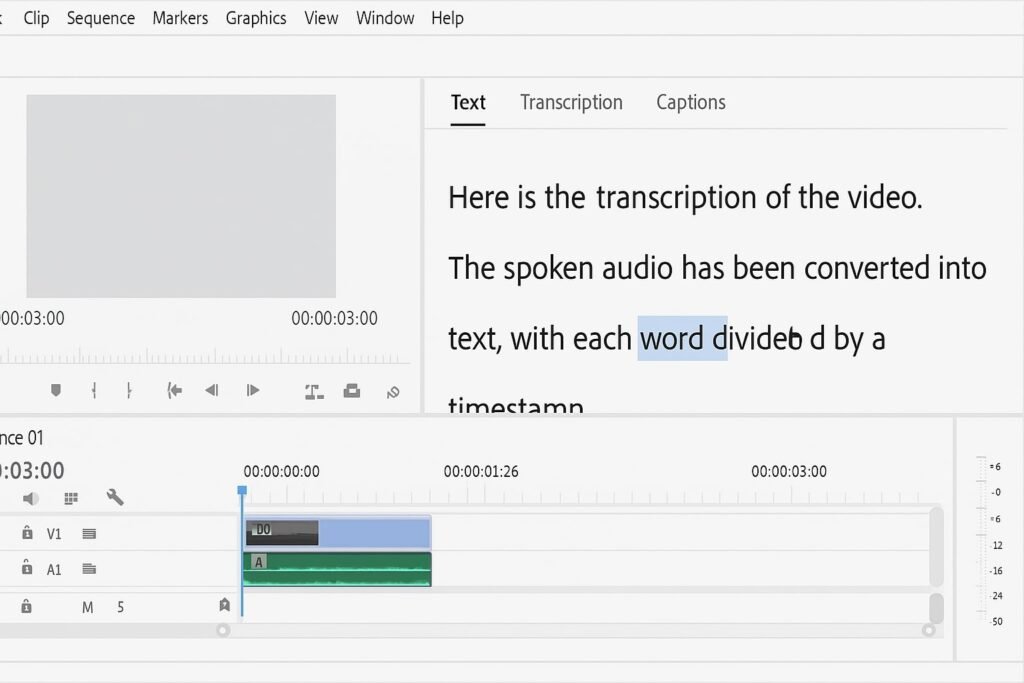
Review and Edit the Transcript
- The transcript will appear in the Text panel.
- Play through it and click any word to jump to that part of the timeline.
- Make edits to fix names, punctuation, or misheard words.
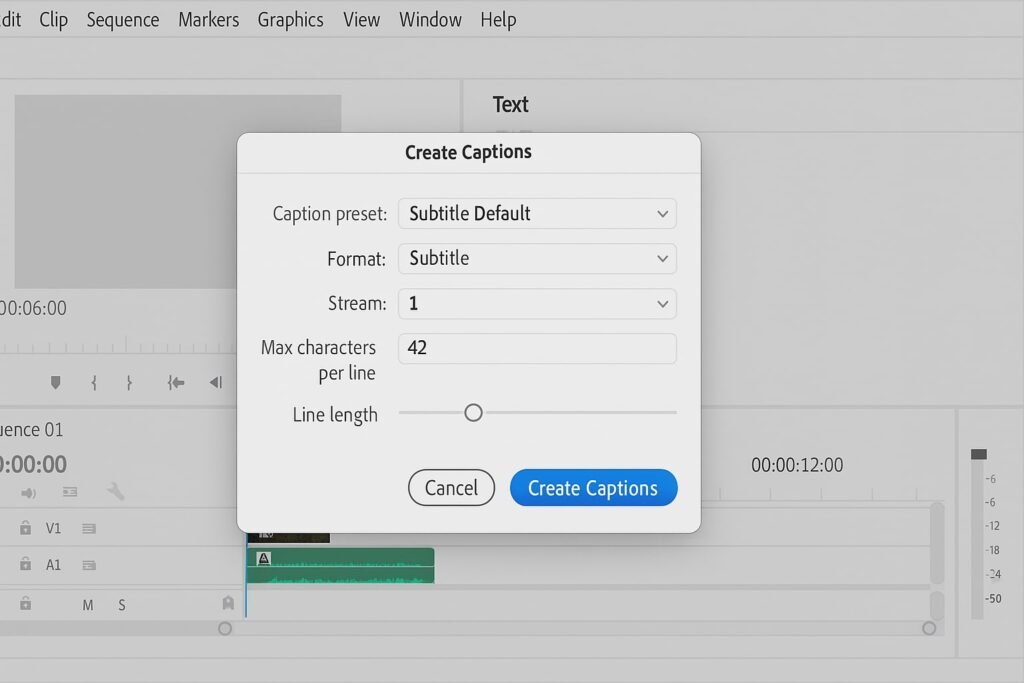
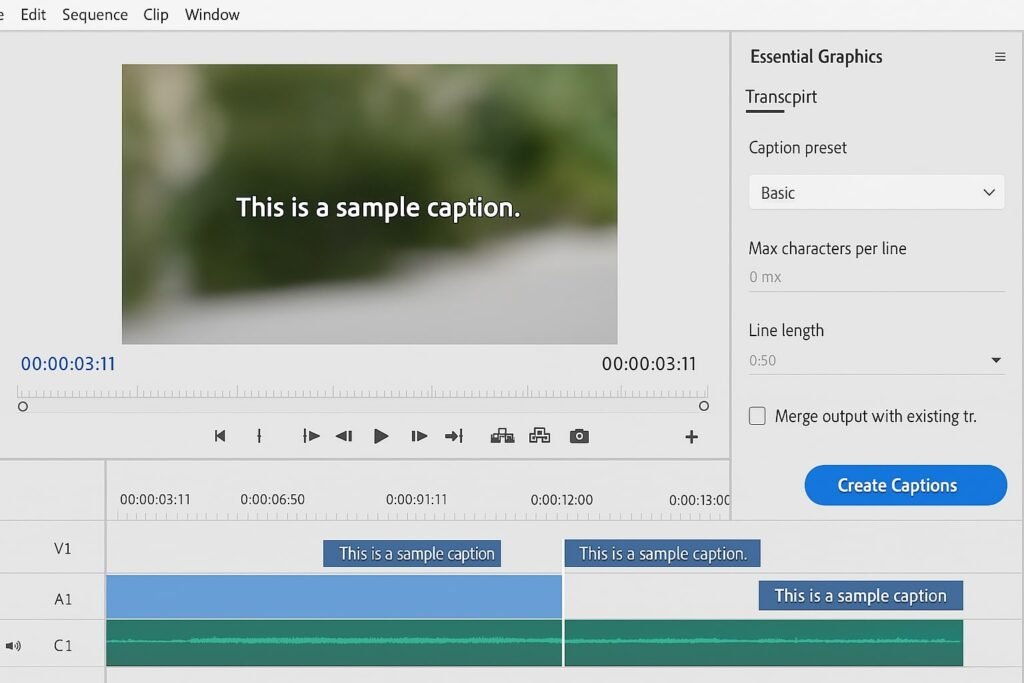
Create Captions from Transcript
- Click ‘Create captions’ in the Text panel.
- Choose your caption preset (e.g., Subtitle Default).
- Set options like maximum characters per line and line length.
- Click Create Captions.
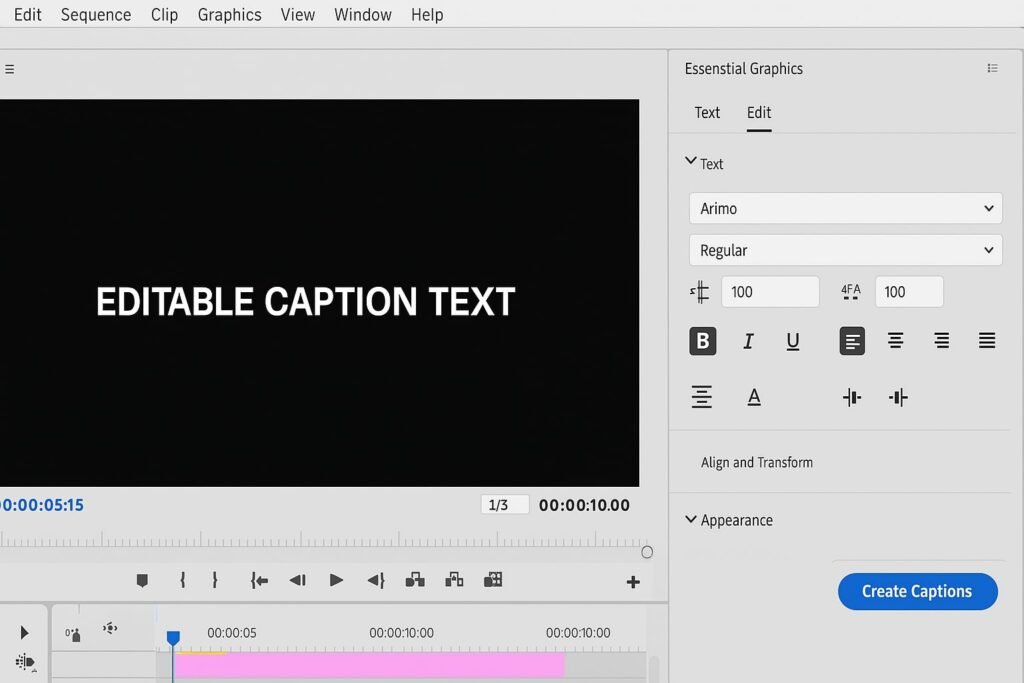
Position and Format Your Captions
- Use the Essential Graphics panel to style the captions:
- Change font, size, background color, and alignment.
- Position captions using the transform controls.
Adjust Timing if Needed
- In the timeline, drag caption blocks to adjust timing.
- Trim or split captions to better match speech.
Preview Your Video with Captions
- Press the spacebar to play through the timeline.
- Ensure captions are synced and readable.
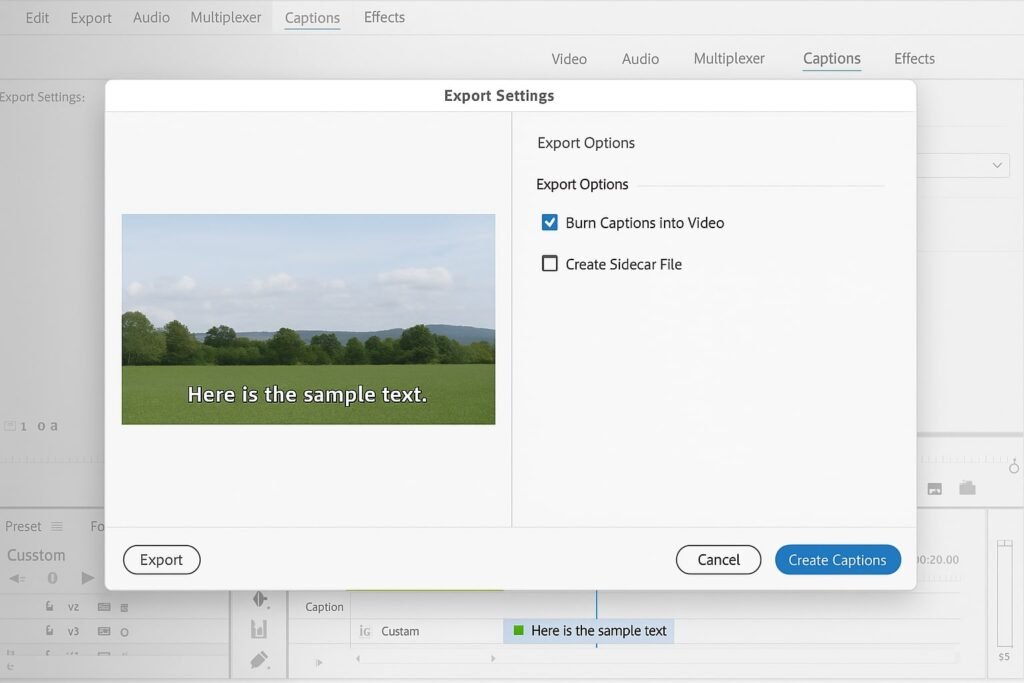
Export Video with Captions Burned In or as Sidecar File
- Go to File > Export > Media.
- Under Captions, choose:
- Burn Captions into Video for hardcoded subtitles.
- Create Sidecar File for separate caption file (e.g., .srt).
- Click Export.
Pro Tips & Workflow Improvements
- Use Keyboard Shortcuts: Press
Shift + Cmd + T(Mac) orShift + Ctrl + T(Win) to open the transcription window quickly. - Improve Accuracy: Use clean audio with minimal background noise for better speech recognition.
- Batch Transcribe: You can transcribe multiple sequences in a project to speed up workflow.
- Add Speaker Labels: Click on the speaker name in the transcript to assign consistent labels.
- Use Templates: Save styled caption presets in Essential Graphics for reuse.
Advanced Use Case: Auto-Captions for Multi-Language Projects
If you need captions in multiple languages:
- Transcribe the original sequence.
- Export the transcript as a text file.
- Use AI translation tools or Adobe’s integration with third-party plugins to create translated versions.
- Import translated transcripts and generate captions in Premiere.
Troubleshooting & Common Mistakes
- “Transcribe” Button Grayed Out: Make sure your sequence is active and contains audio.
- Low Accuracy in Captions: Check audio quality, remove noise, or split into shorter segments.
- Captions Not Showing After Export:
- Ensure you selected the correct caption export option.
- Some platforms require specific formats (e.g., .srt or .vtt).
- Can’t Edit Captions in Timeline: Double-check you’re selecting the caption track, not the video.
- Wrong Language Detected: Verify the correct language is set in the transcription settings.
Conclusion
Adding captions automatically in Premiere Pro saves hours and improves your video’s accessibility and reach. With the Speech to Text tool, you can generate, style, and export captions without ever leaving your editing timeline.
Now that you’ve mastered automatic captions, try customizing the look further or explore how to animate text in Premiere Pro for more dynamic content!