Adding cinematic black bars can instantly give your footage a professional, widescreen look that mimics major films. Whether you’re aiming for a classic 2.35:1 aspect ratio or another cinematic feel, DaVinci Resolve offers multiple ways to do it—some fast, some flexible.
Step-by-Step Guide: Add Cinematic Black Bars in DaVinci Resolve
1. Import Your Footage
- Launch DaVinci Resolve and create or open a project.
- Drag your video into the Media Pool, then place it on the Timeline.
2. Open Timeline Settings
- Click the gear icon (bottom right) to open Project Settings.
- Under Timeline Format, note your resolution (e.g., 1920×1080).
3. Calculate Cinematic Aspect Ratio
- Common aspect ratios:
- 2.35:1: Common for film (results in top/bottom bars)
- 2.39:1: More standard in modern cinema
- Use an online calculator or simple math:
- For 1920×1080 with 2.35:1 ratio: New height ≈ 817px
- Black bars needed = (1080 – 817) / 2 = 131px each top and bottom
4. Add Black Bars with Solid Color Layer (Most Flexible)
- Go to Effects Library > Generators > Solid Color.
- Drag two Solid Color clips above your footage on the timeline.
- Use Inspector > Transform > Zoom to adjust each solid color’s size.
- Position one at the top, one at the bottom.
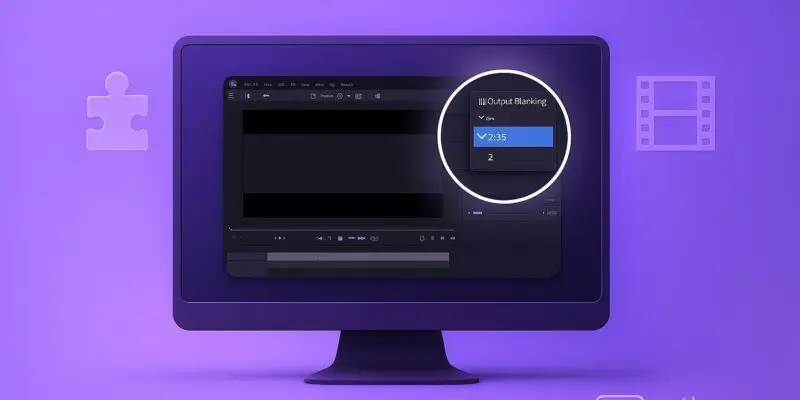
5. Or Use Output Blanking (Quickest Method)
- Select your clip or timeline.
- Open the Timeline Viewer > View > Timeline View Options.
- Go to Inspector > Output Blanking.
- Choose preset like 2.35 from the dropdown.
6. Lock Your Bars (Optional)
- If using solid colors, you can compound clip or group them to avoid accidental movement.
7. Export With Correct Settings
- Ensure your Render Settings preserve the black bars.
- Set export resolution to match the original timeline to avoid cropping.
Pro Tips & Workflow Improvements
- Create a Black Bar Template: Save a compound clip or fusion preset for reuse.
- Adjust for Reframing: Use the solid bar method if you plan to animate or pan footage.
- Add Letterbox in Fusion: Offers advanced control and animations.
- Use Adjustment Clips: You can add the bars to an adjustment clip for batch processing.
- Color Grade First: Apply your grades before adding bars to avoid affecting them.
Advanced Use Case: Animate Bars for Dramatic Reveal
- Use Fusion Page to keyframe the position of black bars.
- Create a “cinematic reveal” effect where bars slide in during a scene change.
Troubleshooting & Common Mistakes
- Bars Disappear After Edit: Compound or lock the bar layers.
- Bars Crop Export: Check export resolution and aspect ratio.
- Wrong Bar Size: Recalculate for your exact timeline resolution.
- Affecting Footage Color: Grade your footage first before adding bars.
- Output Blanking Doesn’t Show in Render: Use solid color method if you need full control.
Conclusion
Adding cinematic black bars in DaVinci Resolve is a quick way to elevate the look of your video. Whether you’re doing a short film, YouTube video, or trailer, using the solid color or output blanking method gives you flexibility and control. Now that you’ve mastered this technique, consider exploring animated transitions or custom aspect ratios for more creative projects.