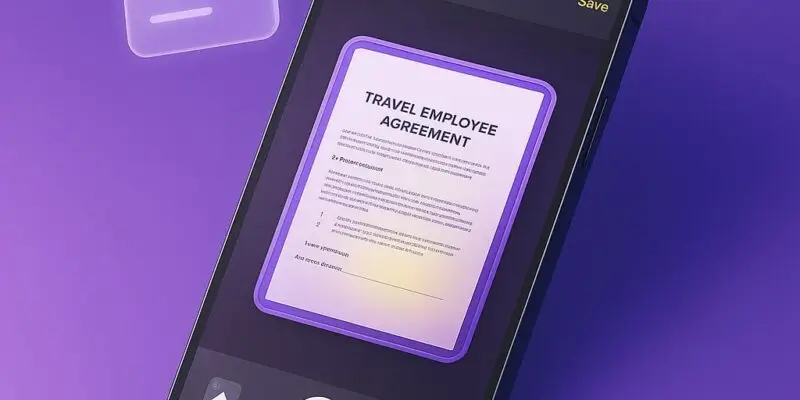
Scanning documents doesn’t require a separate app anymore. With the iPhone’s built-in Notes app, you can turn physical papers into high-quality digital scans in seconds—no need for third-party apps or bulky scanners.
Whether you’re digitizing receipts, signing and emailing a form, or backing up important paperwork, this method is fast, accurate, and completely free. By the end of this guide, you’ll know exactly how to scan, save, and share documents using just your iPhone.
Let’s turn your iPhone into a powerful pocket scanner.
Step-by-Step: How to Scan Documents Using the Notes App
- Open the Notes app
- Launch the Notes app on your iPhone.
- Use either a new or existing note to store your scan.
- Create a new note
- Tap the Compose icon (square with a pencil) at the bottom right.
- This opens a blank note where you can insert your scan.
- Open the scanning tool
- Tap the camera icon above the keyboard.
- Choose “Scan Documents” from the menu.
- Position your document
- Point your camera at the paper. A yellow box will highlight the edges.
- Notes will auto-scan when aligned properly—or you can tap the shutter button to capture manually.
- Adjust the corners (if needed)
- After capturing, you’ll see corner handles.
- Drag to fine-tune the scan if the app didn’t crop perfectly.
- Save or scan more
- Tap Keep Scan to save the page.
- To scan multiple pages, repeat the process; all will be added to one file.
- Finish and save
- Tap Save (bottom right) once you’ve scanned all pages.
- The document will appear embedded in the note.
- Rename the note (optional)
- Tap the note’s title to rename it for easy search later (e.g., “Insurance Card” or “Tax Receipt”).
- Share or export
- Tap the Share icon to send via email, Messages, or save as PDF to Files.
Pro Tips & Workflow Improvements
- Use grayscale or color mode: Tap the filter icon during scanning to toggle between Color, Grayscale, Black & White, or Photo for better clarity.
- Enable auto-capture: Notes auto-detects documents—hold steady to capture without pressing the shutter.
- Sign scanned documents: After scanning, tap the scan and use Markup > + > Signature to sign directly.
- Save to Files app: From the share menu, save your scan directly to iCloud Drive, On My iPhone, or any folder.
- Make scans searchable: Scanned text is automatically indexed by iOS—just search for text in the Notes app to find it later.
Advanced Use Case: Scan to PDF and Upload to Cloud
Want to organize paperwork better?
After scanning:
- Tap the Share icon > choose Save to Files.
- Select a folder in iCloud Drive (e.g., “Receipts” or “Invoices”).
- Your scan is saved as a PDF and synced across Apple devices.
Bonus: Use Shortcuts app to automate saving scans to specific folders!
Troubleshooting & Common Mistakes
- Scan is blurry or cropped wrong
- Make sure your lighting is good and the document is flat.
- Manually adjust corners before saving.
- Can’t find “Scan Documents” option
- Ensure you tap the camera icon within a note, not outside.
- This feature requires iOS 11 or later.
- Scans look dark or yellow
- Try switching to Grayscale or adjusting lighting before capture.
- PDF won’t share via Messages or Mail
- Some large scans exceed size limits. Use Files > Share Link instead.
- Can’t sign the document
- Tap the scan > Share > Markup > + > Signature.
Conclusion
Now you know how to scan any document using just your iPhone and the Notes app—quickly, clearly, and without extra apps. It’s a powerful feature hiding in plain sight.
Try scanning something today—like a receipt or ID—and practice saving it as a PDF. When you’re ready to level up, check out our guide on automating document scans using iPhone Shortcuts for even faster workflows.

