Keeping your hard drive optimized is one of the easiest ways to boost your PC’s performance — especially if you’re using a traditional HDD. Over time, files become fragmented, spreading across different parts of the drive and slowing down your system. That’s where defragmentation comes in.
This guide walks you through defragmenting your Windows PC using built-in tools. You’ll also learn how to schedule regular optimizations and avoid common mistakes. Whether you’re tidying up after months of use or optimizing a workhorse PC, this will make your system faster and more responsive.
✅ Best for: Windows users with HDDs
❌ Not needed for: SSD users (we’ll explain why)
Step-by-Step Guide to Defragment Your Windows PC
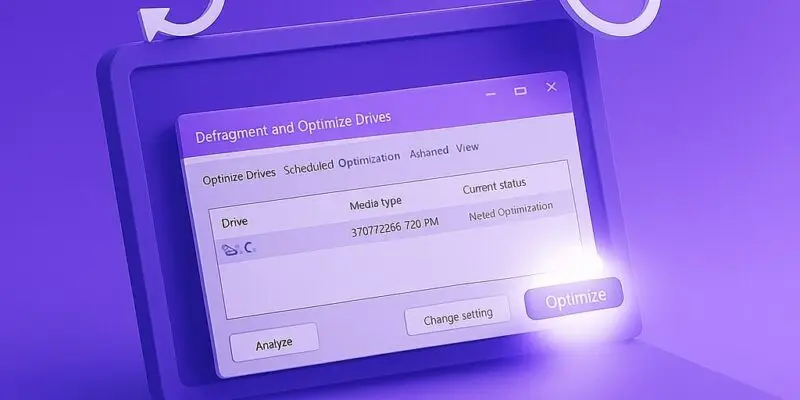
- Open the Defragmentation Tool
- Press Windows + S, type “Defragment and Optimize Drives”, and press Enter.
- Alternatively, go to Control Panel > Administrative Tools > Defragment and Optimize Drives.
- Select Your Drive
- In the list, look for your C: drive or any other HDD you want to optimize.
- Ignore SSDs — Windows manages them differently and doesn’t require defragmentation.
- Analyze the Drive (Optional)
- Click Analyze to see the current fragmentation level.
- If it’s more than 10%, defragmentation is recommended.
- Click Optimize
- Select your HDD and click Optimize.
- This process can take anywhere from a few minutes to over an hour depending on drive size and fragmentation.
- Wait for the Process to Finish
- You can continue working, but performance may slow slightly during the process.
- You’ll see the status update in the tool.
- Set a Schedule for Automatic Optimization
- Click Change settings under Scheduled optimization.
- Ensure Run on a schedule is checked.
- Choose Weekly and make sure all drives are selected (HDDs only).
- Check Optimization History
- In the main window, you’ll see the Last run time and Current status.
- This helps ensure your system stays regularly optimized.
Pro Tips & Workflow Improvements
- 🔁 Don’t defrag SSDs: Windows 10 and 11 use “trim” commands instead. Defragging SSDs can reduce their lifespan.
- 🧼 Clear junk files first: Run Disk Cleanup or use Storage Sense before defragging for best results.
- ⏰ Schedule during idle times: Pick off-hours for optimization (e.g., during lunch or overnight).
- 📁 Exclude external drives: These often don’t need defragging, and the process can be slow or unnecessary.
- 🧩 Use PowerShell: Advanced users can run
Optimize-Volume -DriveLetter C -Defrag -Verbosefor detailed control.
Advanced Use Case: Batch Optimize Multiple Drives via Script
You can automate optimization for multiple drives using a PowerShell script:
$drives = Get-Volume | Where-Object {$_.DriveType -eq 'Fixed'}
foreach ($drive in $drives) {
    Optimize-Volume -DriveLetter $drive.DriveLetter -Defrag -Verbose
}
Run this weekly via Task Scheduler for hands-off maintenance.
Troubleshooting & Common Mistakes
- ❗ “Optimization not available” — You’re likely trying to defrag an SSD. It’s normal; no action needed.
- ❗ Tool won’t open — Use sfc /scannow in Command Prompt to check system file integrity.
- ❗ Optimization won’t complete — Ensure no large background tasks are running and check for disk errors with chkdsk.
- ❗ Drives not listed — External or encrypted drives may not show. Mount or decrypt them first.
- ❗ Performance still slow — Fragmentation might not be the issue. Check for malware or startup bloat.
Conclusion
Regularly defragmenting your HDD is a quick and effective way to maintain performance and prevent slowdowns. With just a few clicks (or a scheduled task), your system stays lean and snappy. Remember: if you’re on an SSD, skip the defrag and let Windows manage it with trim.
Next up: [How to Use Storage Sense to Automatically Free Up Disk Space on Windows]