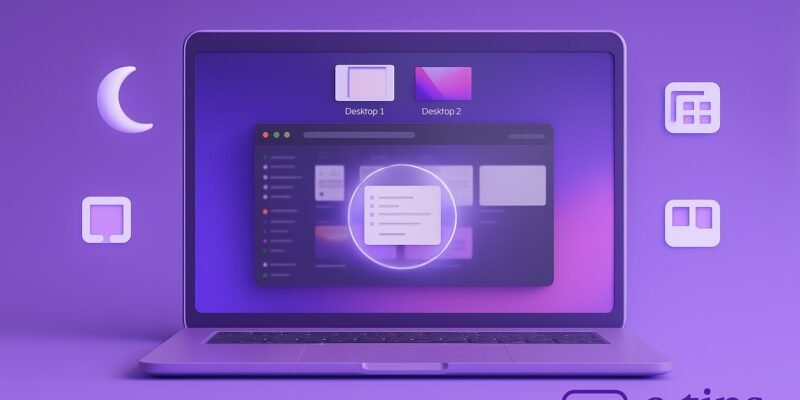
Mission Control is one of macOS’s most powerful tools for multitasking. It gives you a bird’s-eye view of all open windows, full-screen apps, and Spaces, letting you switch between them effortlessly.
Whether you’re juggling multiple projects or simply want a cleaner way to navigate your desktop, mastering Mission Control can transform your productivity.
In this guide, you’ll learn how to activate and use Mission Control, manage desktops (Spaces), and customize it to fit your workflow.
Step-by-Step Guide
- Open Mission Control
- Use the F3 key (or Control + Up Arrow) on your keyboard.
- On a MacBook, swipe up with three or four fingers on the trackpad.
- You can also click the Mission Control icon in the Dock or use Launchpad.
- View All Open Windows
- Mission Control arranges all open windows in a grid so you can quickly locate the one you need.
- Hover your mouse over any window to highlight it, then click to switch.
- Manage Multiple Desktops (Spaces)
- Move your cursor to the top of the screen to reveal Spaces.
- Click the + button on the right to create a new Desktop.
- Drag apps or windows into different desktops to organize your work.
- Switch Between Desktops
- Use Control + Left/Right Arrow keys.
- Or swipe left/right with three or four fingers on the trackpad.
- Make Apps Full Screen or Split View
- Click the green button on the top-left of a window to enter full-screen mode.
- Drag another app into that full-screen window in Mission Control to enter Split View.
- Rearrange Desktops and Full-Screen Apps
- In the Spaces bar, click and drag desktops or full-screen windows to reorder them.
- Close Desktops
- Hover over a desktop in the Spaces bar and click the X to close it.
- Open windows will automatically move to another desktop.
- Use App Exposé
- Swipe down with three fingers or press Control + Down Arrow to see all windows for the current app.
- Customize Mission Control Settings
- Go to System Settings > Desktop & Dock > Mission Control.
- Adjust hot corners, grouping, and Spaces behavior.
Pro Tips & Workflow Improvements
- Hot Corners: Assign Mission Control or App Exposé to screen corners for instant access.
- Drag-and-Drop Between Desktops: While in Mission Control, drag files or windows from one desktop to another.
- Use Separate Spaces for Each App: Keep Safari in one space, Mail in another, etc., for focused work.
- Keyboard Shortcut Customization: Change or add custom shortcuts via System Settings > Keyboard > Keyboard Shortcuts.
- Combine with Stage Manager (macOS Ventura+): Mission Control still works well when Stage Manager is enabled, offering an extra layer of organization.
Advanced Use Case
Automate Desktop Switching with Shortcuts App
- Use the Shortcuts app to script workflows that open specific apps in certain desktops.
- Example: Launch your “Writing Space” that opens Pages in Desktop 1, Safari in Desktop 2.
Troubleshooting & Common Mistakes
- Mission Control Not Activating?
- Check keyboard or trackpad shortcuts in System Settings > Keyboard > Keyboard Shortcuts.
- Desktops Keep Rearranging?
- Disable “Automatically rearrange Spaces” in System Settings > Desktop & Dock.
- App Not Appearing in Mission Control?
- The app may be minimized or on another desktop. Use App Exposé to find it.
- Too Many Desktops Slowing You Down?
- Close unused Spaces regularly and keep desktop organization simple.
Conclusion
Mastering Mission Control lets you work smarter, not harder. With a few gestures and shortcuts, you can switch contexts, stay organized, and boost productivity.
Now that you’ve got the basics and some power-user tricks, try using Mission Control throughout your day. Want to go further? Check out our guide on how to use Stage Manager or set up Hot Corners for even faster control.