Tracking changes in Microsoft Word is essential for editing and collaboration. Whether you’re reviewing a colleague’s draft, revising your own writing, or working with an editor, this feature keeps a clear record of every insertion, deletion, or formatting adjustment.
By the end of this guide, you’ll know how to enable Track Changes, navigate edits, customize markup settings, and finalize documents cleanly. This is your go-to tutorial whether you’re using Word for school, business, or publishing.
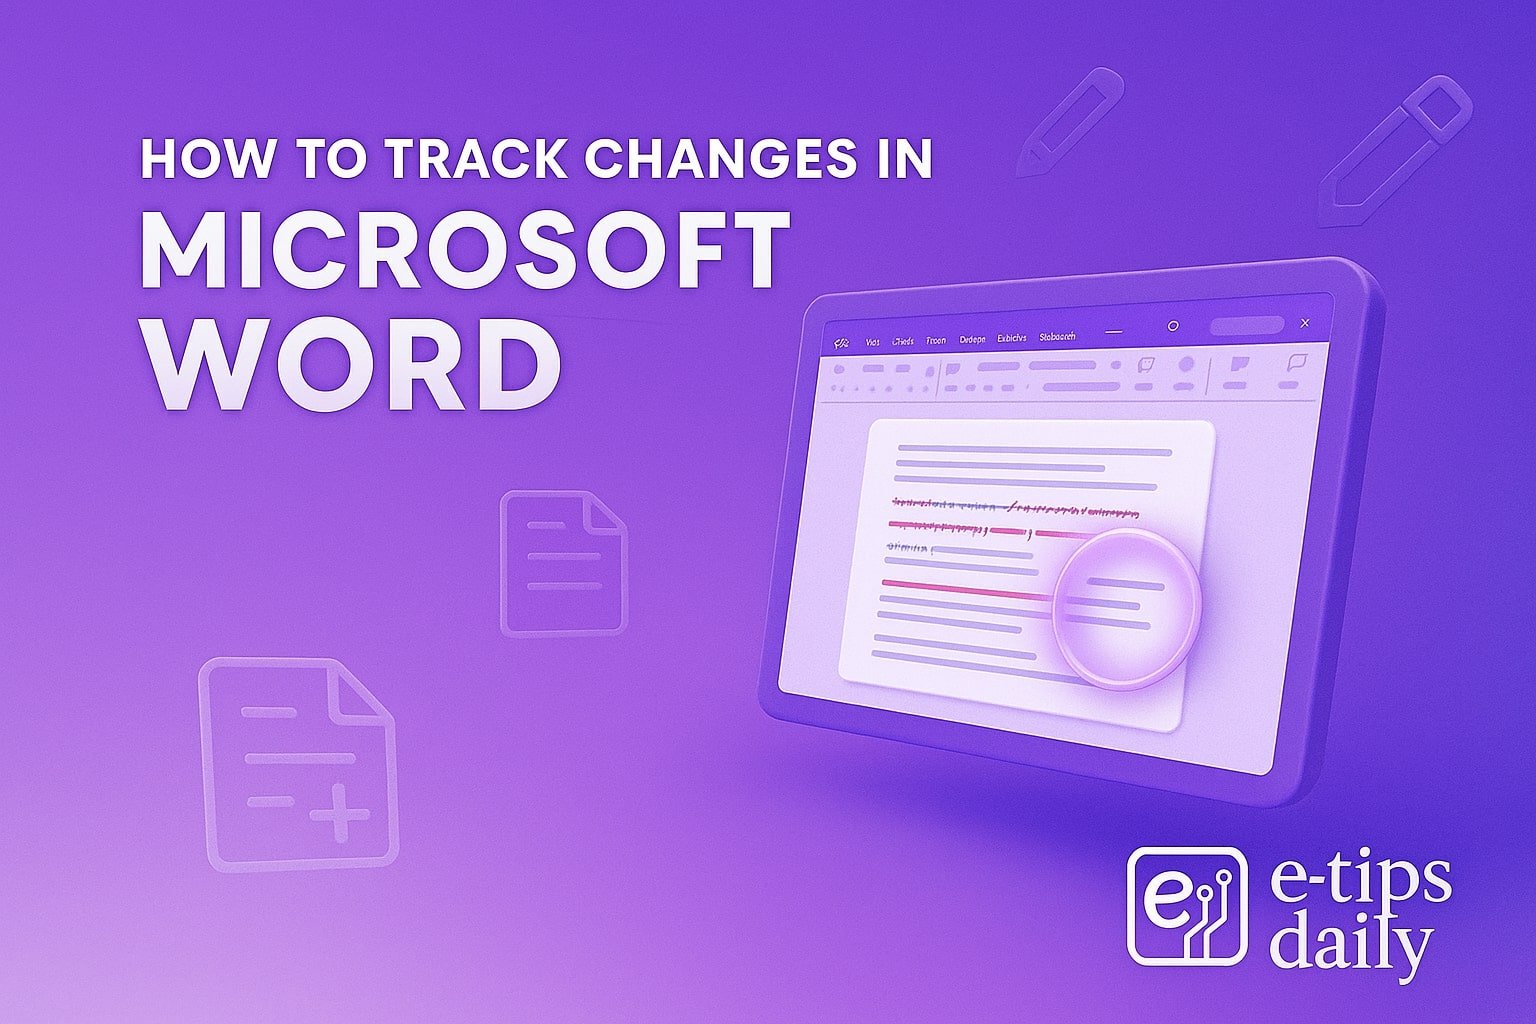
Step-by-Step Guide: How to Use Track Changes in Word
- Open Your Document: Launch Microsoft Word and open the file you want to review.
- Enable Track Changes
- Go to the Review tab.
- Click Track Changes. It should be highlighted when active.
- Alternatively, use the shortcut Ctrl + Shift + E (Windows) or Cmd + Shift + E (Mac).
- Customize Markup Options
- Under the Review tab, click the small arrow next to Track Changes > Change Tracking Options.
- You can modify how insertions, deletions, and formatting changes appear (colors, balloons, underline, etc.).
- Start Editing: As you type, delete, or format text, changes are marked visibly: additions may appear underlined or colored, deletions shown as strikethroughs.
- Switch View Modes: In the Review tab, use the Display for Review dropdown:
- Simple Markup: Clean view with change indicators.
- All Markup: Shows all tracked edits.
- No Markup: Hides edits for a clean read.
- Original: Shows the document before edits.
- Add Comments
- Highlight text, click New Comment in the Review tab.
- Type your note in the margin balloon.
- Review and Accept/Reject Changes
- Use the Previous and Next buttons to navigate changes.
- Click Accept or Reject to confirm or discard each edit.
- Hold the dropdown to accept/reject all changes at once.
- Track Changes for Multiple Users
- Ensure each editor has a unique username under File > Options > General > User Name.
- Word tracks edits by user and color-codes them for clarity.
- Protect the Document (Optional): To prevent others from disabling Track Changes:
- Go to Review > Protect > Protect Document.
- Select Restrict Editing, enable only tracked changes, and set a password.
- Turn Off Track Changes: Simply click Track Changes again to toggle it off when finished editing.
- Finalize the Document
- Accept all changes and delete comments to clean up.
- Save a version with tracked edits if needed for reference.
Pro Tips & Workflow Improvements
- Use Compare or Combine tools in the Review tab to review edits between versions.
- Set a shortcut to toggle Track Changes faster in Word Options > Customize Ribbon.
- Use Print Markup to include edits in printouts.
- Add your initials in Word Options > User Name for easy edit tracking.
- Use the Reviewing Pane to see a summary of changes.
Advanced Use Case: Combining Edits from Multiple Reviewers
- Open your base document.
- Go to Review > Compare > Combine.
- Select the original and revised documents.
- Word merges changes from multiple reviewers for consolidated feedback.
Troubleshooting & Common Mistakes
- Changes not showing? Ensure you’re in All Markup or Simple Markup view.
- Track Changes not working? Double-check it’s toggled on and not restricted.
- Comments missing? Switch to All Markup and ensure balloons are enabled.
- Edits in same color? Go to Tracking Options to assign different colors per user.
- Can’t accept/reject edits? You might not have permissions—check document protection settings.
Conclusion
Tracking changes in Word is a game-changer for collaborative editing. With this guide, you’re equipped to manage, review, and finalize edits like a pro. Keep practicing, and soon it’ll be second nature. Next, consider learning how to use Comments more effectively or mastering Compare and Merge tools!