OneNote is more than just a digital notepad. It’s a versatile hub for organizing your thoughts, research, meeting summaries, and to-do lists. Whether you’re a student, a project manager, or just someone who loves structured notes, mastering OneNote can level up your productivity.
This guide will teach you how to take effective, organized, and visually clear notes using OneNote. By the end, you’ll know how to optimize your layouts, integrate multimedia, and keep your content searchable and synced.
Step-by-Step Guide to Pro Note-Taking in OneNote
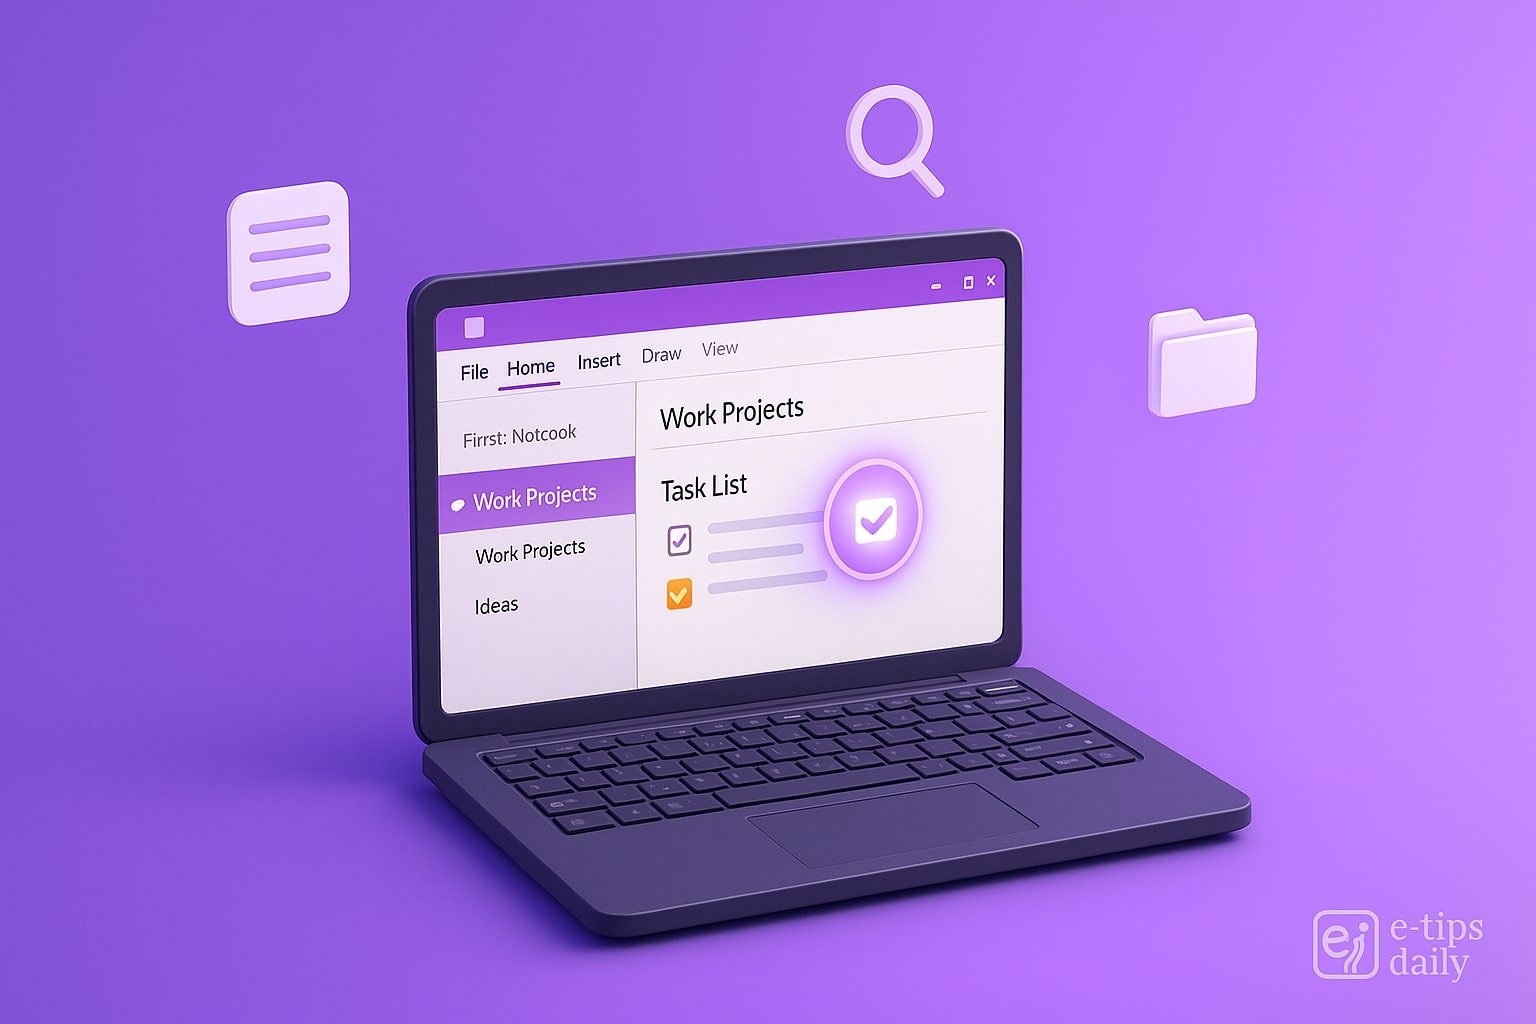
- Create Notebooks for Broad Categories: Start by creating separate notebooks for each major area of your life or work (e.g., “School,” “Work Projects,” “Personal”). This keeps everything clean and easy to navigate.
- Use Sections to Break Down Topics: Within each notebook, create Sections for different topics or subjects. For example, under “School,” you might have sections like “Biology,” “History,” and “Math.”
- Add Pages for Each Session or Entry: Use Pages to organize notes by date, meeting, or lecture. Always title your page clearly so it’s easy to find later.
- Use Templates for Consistency: Use OneNote’s built-in page templates (e.g., Meeting Notes, Lecture Notes) or create your own to maintain structure.
- Use Headings and Tags: Use Heading styles to create a clear hierarchy. Tag important points with To Do, Important, or Question tags so you can filter them later.
- Insert Files, Images, and Audio: Use Insert > File Printout to add PDFs, or insert images and record audio notes directly on the page. Great for meetings and lectures.
- Enable Dictation for Voice-to-Text: Use the Dictate feature (available in OneNote for Windows and Web) to take notes hands-free.
- Use Drawing Tools for Visual Notes: On tablets or touch devices, use the Draw tab to sketch diagrams or annotate content.
- Link Pages and Sections Internally: Use Right-click > Copy Link to Page to interlink pages for quick reference across notebooks.
- Sync Across Devices: Make sure you’re signed into OneNote with your Microsoft account. Your notebooks will sync across devices automatically.
- Use Search to Find Anything Fast: Use the powerful Search bar to find keywords, tags, or even text within images and PDFs.
Pro Tips & Workflow Improvements
- Color-Code Sections: Use colors to visually separate notebooks and sections.
- Pin Pages: Pin frequently used pages to the top of your section.
- Use Keyboard Shortcuts: Like
Ctrl+Alt+Dto open a side note quickly. - Share and Collaborate: Share notebooks with others for real-time collaboration.
- Try OneNote Web Clipper: Save webpages directly into OneNote with a browser extension.
Advanced Use Case: Task Management with OneNote
Combine OneNote with Outlook or Microsoft To Do by tagging tasks with To Do tags and syncing them. Use a dedicated section like “Weekly Planner” to manage priorities, with pages for each day and links to relevant notes.
Troubleshooting & Common Mistakes
- Notes Not Syncing?: Check your internet connection and make sure you’re logged into the right Microsoft account.
- Accidentally Deleted a Page?: Go to the Notebook Recycle Bin to recover it.
- Too Many Tags?: Clean up your tags by customizing them under the Tags Summary pane.
- Slow Performance: Archive old notebooks and reduce embedded media.
- Text Not Recognized in Images?: Ensure OCR is enabled; sometimes it takes a few minutes to process.
Conclusion
Mastering OneNote transforms how you capture, organize, and recall information. With structured notebooks, multimedia integration, and smart features like tagging and syncing, you can make your notes more useful than ever.
Try integrating just a few of these pro tips today, and you’ll soon find OneNote becoming your favorite digital workspace.
Want to level up further? Check out our guide on OneNote and Microsoft To Do integration next!