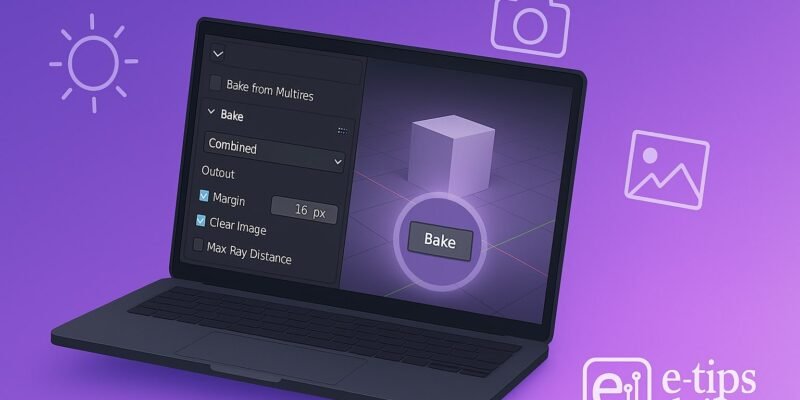
Baking lighting in Blender lets you precompute how light interacts with your scene objects and store that information in texture maps. This reduces render times and improves performance in real-time engines, game exports, and complex scenes. When you finish this guide, you’ll have a fully baked lightmap ready to use in Eevee, Cycles, or external applications.
In this tutorial, you will learn how to:
- Set up your scene for baking
- Configure UVs and image textures for lightmaps
- Choose and adjust bake settings in both Eevee and Cycles
- Export and apply baked textures
Whether you’re optimizing assets for a game engine or accelerating your final renders, this step-by-step tutorial will cover everything you need.
Step-by-Step Guide
- Prepare Your Scene:
- Select objects you wish to bake (often static meshes).
- Ensure each object has a dedicated UV map for lightmaps; call it UVMap_Light or similar.
- Unwrap UVs:
- In Edit Mode, select all faces (press A).
- Open UV Editor, choose UV ▶ Unwrap ▶ Smart UV Project or manual seams and Unwrap.
- Pack islands efficiently to maximize texel density.
- Create a Lightmap Image:
- In the UV Editor, click New, set resolution (e.g., 1024×1024 or 2048×2048), and name it Lightmap.
- Optionally enable 32-bit Float for high precision.
- Assign the Image to Materials:
- In the Shader Editor, add an Image Texture node, select your Lightmap image, and do not plug it into any shader—just leave it active for baking.
- Repeat for each material or use an Attribute node to reference a single UV map if baking multiple objects simultaneously.
- Choose Your Render Engine:
- Go to Properties ▶ Render Properties, select Cycles for accuracy or Eevee for speed.
- For Eevee, ensure Ambient Occlusion, Bloom, or other effects are enabled if needed.
- Configure Bake Settings:
- Switch to the Bake panel under Render Properties.
- Set Bake Type to Combined, Diffuse, Ambient Occlusion, or Shadow based on your needs.
- Enable Selected to Active if baking from multiple high-poly sources to low-poly targets.
- Adjust Margin (e.g., 16 px) to avoid seams.
- Bake the Lightmap:
- Select all target objects, then select the high-poly source last (if using Selected to Active).
- Click Bake and wait until the process finishes.
- Check the UV Editor to preview your baked results.
- Save Your Baked Image:
- In the UV Editor, go to Image ▶ Save As, choose a location and format (PNG or EXR).
- Apply Baked Texture:
- In your material’s Principled BSDF, add an Image Texture node with your saved lightmap.
- Combine with Multiply or use a Mix Shader to overlay baked lighting over your base colors.
Pro Tips & Workflow Improvements
- Separate Lightmap UV: Keep your lightmap UV separate from your color or detail UV to avoid conflicts and ensure clean bakes.
- Use Light Probes in Eevee: Complement baked results with Irradiance Volumes and Reflection Cubes for dynamic bounce lights.
- Baking in Batches: Use the Batch Ops add-on to bake multiple objects and maps at once.
- High-Precision Formats: For architectural visualization, bake in EXR (32-bit) to preserve subtle lighting variations.
- Denoising: Enable Denoising in Cycles bake settings for cleaner results, especially at low sample counts.
Advanced Use Case: Batch Baking via Python
You can automate baking for dozens of assets using Blender’s Python API:
import bpy
for obj in bpy.context.selected_objects:
bpy.context.view_layer.objects.active = obj
img = bpy.data.images.new(f"{obj.name}_lightmap", 2048, 2048)
bpy.ops.object.bake(type='COMBINED', margin=16)
img.filepath_raw = f"//baked/{obj.name}_lightmap.png"
img.save()
This script cycles through selected objects, creates a new image per object, bakes, and saves it automatically.
Troubleshooting & Common Mistakes
- Blank or All-White Bakes: Ensure your Image Texture node is active and selected; otherwise, Blender has nowhere to store the bake.
- Seams or Artifacts: Increase Margin or improve UV island packing. Try Dilate/Erode in the image editor.
- Distorted Shadows: Check for overlapping UV islands—each island must be separate.
- Low-Resolution Lightmaps: For close-up renders, increase resolution to 4096×4096 or split objects into multiple tiles.
- Long Bake Times: Lower samples in Cycles or switch to Eevee with simplified settings for quick previews.
Conclusion
Baking lighting in Blender can significantly accelerate your workflow, whether you’re optimizing for real-time engines or final production renders. By following this guide, you’ve learned to set up UVs, adjust bake settings, and automate the process for multiple assets. Now, practice on a sample scene and explore combining baked maps with dynamic lights for hybrid approaches.
Next, consider diving into Light Linking or Bake Pass Separation to further refine your lighting control.

