Color grading is one of the most powerful tools in DaVinci Resolve, transforming your raw footage into cinematic visuals that match your creative vision. Whether you’re correcting color balance or giving your video a dramatic tone, Resolve’s color page is the industry standard.
Step-by-Step Guide to Color Grading Footage in DaVinci Resolve
1. Import and Organize Your Footage
- Launch DaVinci Resolve and create a new project.
- Go to the Media tab and import your clips.
- Organize clips into bins for easy access.
2. Create a New Timeline
- In the Edit tab, drag clips onto a new timeline.
- Right-click the timeline to set your resolution and frame rate.
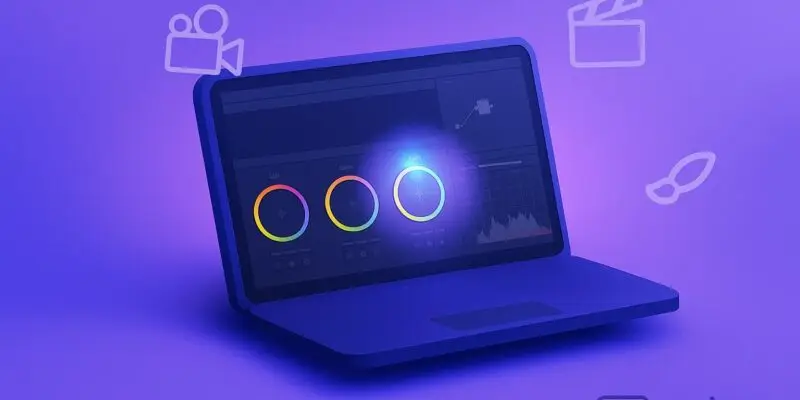
3. Switch to the Color Page
- Click the Color tab at the bottom.
- You’ll see your clip in the viewer and a node graph below.
4. Do Primary Color Correction
- Start with the Lift, Gamma, Gain wheels:
- Lift adjusts shadows
- Gamma adjusts midtones
- Gain adjusts highlights
- Use Scopes (parade, waveform) to guide adjustments.
- Balance exposure and white balance.
5. Fix Saturation and Contrast
- Use the Contrast and Pivot sliders for punch.
- Increase Saturation to desired level (start around 50–60).
6. Use Curves for Precision
- Go to the Custom Curves panel.
- Add control points to adjust highlights, mids, and shadows.
- Use Hue vs Hue and Hue vs Sat for targeted tweaks.
7. Add a Creative Look
- Create a new node (Alt+S).
- Use LUTs (Look-Up Tables) for stylized grades.
- Try built-in ones or import custom LUTs.
- Fine-tune after applying LUTs to avoid harsh results.
8. Isolate Areas with Power Windows
- Add a new node.
- Use Power Window to isolate a subject or sky.
- Combine with Tracker to follow movement.
9. Apply Noise Reduction (if needed)
- Use Temporal NR for motion noise.
- Use Spatial NR for static grain.
- This is GPU-intensive—apply last.
10. Match Shots Across Clips
- Select a graded clip, right-click > Apply Grade to others.
- Use Color Match (Color Wheels > Color Match) for faster results.
11. Render Your Graded Video
- Go to the Deliver page.
- Choose a preset (YouTube, ProRes, etc.)
- Add to Render Queue and click Start Render.
Pro Tips & Workflow Improvements
- Use Nodes Logically: Organize corrections in multiple nodes (e.g., Node 1: Balance, Node 2: Contrast, Node 3: Look).
- Label Your Nodes: Right-click a node > Label for easy navigation.
- Use Adjustment Clips: In the Edit page, add global grades across multiple clips.
- Use Group Grades: Grade shots by group using Pre-Clip or Post-Clip group nodes.
- Export Still References: Right-click viewer > Grab Still for visual references between sessions.
Advanced Use Case: Scene-Based LUT Pipeline
- Create scene-specific LUTs for consistent tones.
- Apply them at the Timeline level or with Adjustment Clips.
- Combine with Power Grades for reuse across projects.
Troubleshooting & Common Mistakes
- Clipping Whites or Blacks?: Use Scopes to monitor exposure.
- Color Cast Issues?: White balance with the Temp/Tint controls.
- Grading Too Early?: Always color correct before applying looks.
- Lag During Playback?: Use Render Cache or lower playback resolution.
- LUT Looks Wrong?: Make sure your footage is in the correct color space.
Conclusion
Color grading in DaVinci Resolve unlocks a new level of control and creativity. With this step-by-step workflow, you’re ready to start enhancing your footage like a pro.
Practice regularly and experiment with looks—soon, grading will feel as intuitive as editing.
Next up: Learn how to use Fusion for dynamic visual effects or explore HDR grading techniques!