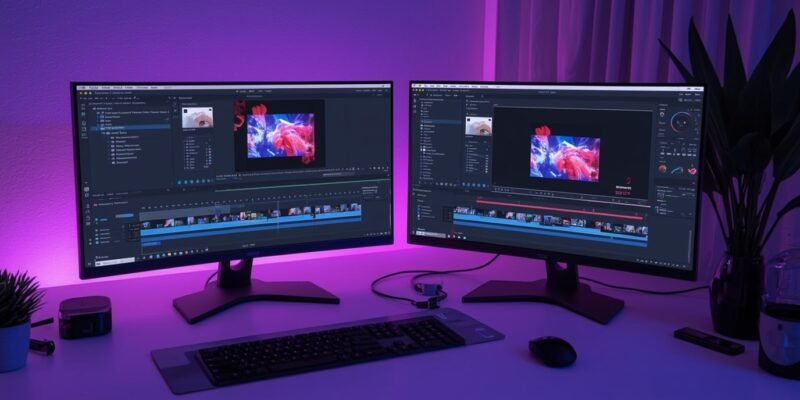
Want buttery-smooth slow motion for your videos? If you shot at 60 frames per second (fps), you’re in luck. That higher frame rate gives you the flexibility to slow down your footage without introducing choppy playback or motion stutter. In this guide, you’ll learn exactly how to convert 60fps clips into stunning slow motion inside Adobe Premiere Pro.
Whether you’re making cinematic B-roll, capturing action shots, or just want to add some dramatic flair, slow motion can seriously elevate your edits. By the end of this tutorial, you’ll know how to do it right — with professional-quality results and zero guesswork.
Want to take your visuals to the next level? Check out our must-read guide: 5 Color Grading Tricks You Need to Know in Premiere Pro.
Why Use 60fps for Slow Motion
Standard video playback is typically 24fps or 30fps. When you shoot at 60fps, you’re capturing twice the number of frames — which means when you slow it down to half speed (30fps), you still get smooth, fluid motion. No frame skipping, no jitter.
This makes 60fps the sweet spot for slow motion in Premiere Pro — offering flexibility without requiring ultra-high frame rates like 120fps or 240fps.
Step-by-Step: Creating Slow Motion from 60fps in Premiere Pro
1. Import Your 60fps Footage
Start by bringing your clip into the Project panel. Drag and drop it from your file browser or use File > Import.
2. Interpret Footage Frame Rate
Right-click your clip in the Project panel and choose Modify > Interpret Footage. Under Frame Rate, select Assume this frame rate: and enter 23.976 or 29.97 (depending on your sequence settings).
- This tells Premiere to play back the clip at a slower speed without dropping frames.
3. Create or Set Up Your Sequence
Make sure your sequence frame rate matches your target speed (usually 23.976fps for cinematic or 29.97fps for standard video). You can create a new sequence via File > New > Sequence or by dragging the clip to the New Item icon.
4. Add the Interpreted Clip to the Timeline
Drag the interpreted clip into your sequence. It should now play back in slow motion — roughly 40–50% slower, depending on your settings.
5. Enable Optical Flow for Smoother Playback
Right-click the clip on your timeline and choose Time Interpolation > Optical Flow.
- This generates new in-between frames for ultra-smooth slow motion.
- You must render the clip (hit Enter) to preview the effect in real time.
6. Fine-Tune with Speed/Duration (Optional)
Right-click the clip and choose Speed/Duration to adjust playback speed manually. You can set it to 50% for clean half-speed motion or try other percentages.
- Tip: Keep it above 40% to avoid jitter unless you’re using high frame rates (e.g. 120fps).
7. Preview and Render
Hit Enter to render your timeline and preview the results. Make any final adjustments to timing, music sync, or transitions.
Using Optical Flow for Smoother Playback
Optical Flow analyzes the motion between frames and intelligently creates new ones, giving you much smoother slow motion — especially when you slow clips below 50%.
How to Apply:
- Right-click the clip > Time Interpolation > Optical Flow
- Press Enter to render
- Watch for artifacting in complex scenes (motion blur or fast-moving objects)
Curious how Premiere stacks up against Resolve? Don’t miss our full breakdown: DaVinci Resolve vs Premiere Pro: The Ultimate Deep Dive on Color Grading.
Pro Tips for Perfect Slow Motion
- Shoot at Higher Shutter Speeds: Use 1/125 or faster when filming at 60fps to avoid motion blur.
- Use Adjustment Layers: Apply color correction or motion blur overlays on top of slow motion clips.
- Combine with Speed Ramping: Use keyframes in the Effect Controls panel to transition from normal speed to slow motion for cinematic effects.
- Keep Audio Separate: Slowed-down audio can sound unnatural — replace or mute it.
- Label Your Frame Rates: Color code or rename clips so you know which are 60fps.
Common Mistakes to Avoid
- Skipping the Interpret Step: Simply slowing down a 60fps clip without interpreting the footage can cause stutter.
- Forgetting to Render Optical Flow: Unrendered clips may look choppy or glitchy during playback.
- Mismatch in Sequence Settings: If your sequence is 60fps, you won’t get visible slow motion.
- Dragging Directly to Timeline First: Always interpret first to retain smooth frame playback.
Recap: Smooth Slow Motion in a Snap
To convert 60fps footage into smooth slow motion in Premiere Pro:
- Import and interpret your footage correctly
- Match sequence settings
- Use Optical Flow for ultra-smooth results
- Fine-tune with Speed/Duration and render for playback
Mastering this technique lets you unlock cinematic storytelling and sharper visuals without needing specialized cameras or software.
Try this and tag us on instagram with your results! @e_tipsdaily