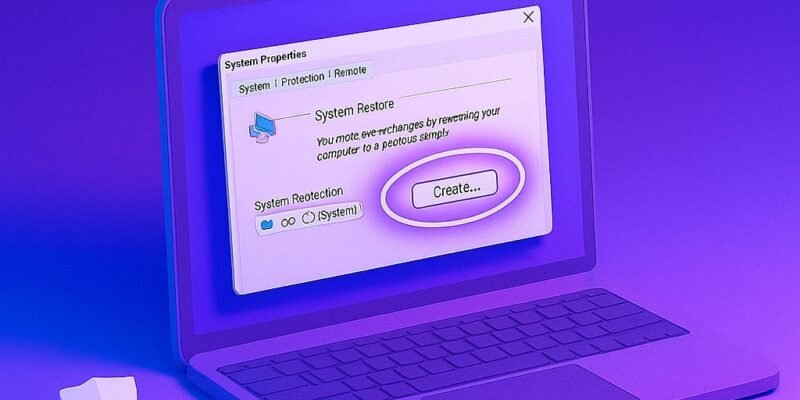
Creating a System Restore Point in Windows is one of the easiest ways to protect your system from unexpected problems. It captures a snapshot of your system settings, installed apps, and drivers — so if something goes wrong after a change, you can roll back without losing personal files.
Whether you’re about to install new software, update drivers, or tweak settings, making a restore point is a smart safety net. In this guide, you’ll learn exactly how to create one and ensure it’s working correctly.
Step-by-Step Guide to Create a System Restore Point in Windows 10/11
- Open the Start Menu and Search for “Restore Point”
- Type “Create a restore point” and click the matching result. This opens the System Properties window.
- Check if Protection is Enabled
- Under the System Protection tab, see if protection is On for your system drive (usually C:).
- If it’s off, select the drive and click Configure, then choose Turn on system protection and allocate 5-10% disk space. Click Apply.
- Click “Create” to Start a New Restore Point
- In the same System Protection tab, click Create…
- Name Your Restore Point
- Use a clear, descriptive name like “Before NVIDIA Driver Update” or “Pre-July Windows Update”.
- Click “Create” Again to Confirm
- Windows will take a few seconds to complete the process. You’ll see a success message when done.
- Click “Close” to Exit
- Once created, your restore point is ready to use anytime you need it.
Pro Tips & Workflow Improvements
- Create Restore Points Before Major Changes: Always do this before installing new drivers, registry edits, or large system updates.
- Use a Batch File for Faster Access: You can automate restore point creation with a batch script using PowerShell.
- Shortcut to System Protection: Pin “Create a restore point” to your Start Menu or Taskbar for quick access.
- Schedule Restore Points: Use Task Scheduler with a script to automatically create restore points daily or weekly.
- Backup Before Deletion: If cleaning up old restore points, make sure at least one recent point remains in case of emergency.
Advanced Use Case: Create Restore Point with PowerShell
You can automate restore point creation using the following PowerShell command:
Checkpoint-Computer -Description "Auto Restore Point" -RestorePointType "MODIFY_SETTINGS"- Run PowerShell as Administrator
- Useful for creating daily restore points via Task Scheduler
Troubleshooting & Common Mistakes
- “Restore point could not be created” error: Usually due to disabled system protection. Enable it in System Properties > Configure.
- Restore Point Missing: Windows may delete older points if disk space is limited. Increase allocated space in Configure settings.
- Can’t Roll Back: Some updates or system issues may block rollback. Try Safe Mode to access System Restore.
- System Protection Not Listed for Drive: Ensure the drive is a system drive and not an external or USB volume.
- System Restore Disabled by Group Policy: On work PCs, IT policies might block restore point creation.
Conclusion
System Restore Points are a powerful, built-in safeguard for your Windows PC. Now that you know how to create and manage them, you can confidently tweak settings, install software, and test updates without worry.
Next up: Learn how to use System Restore to roll back to a previous point if something goes wrong.


