Exporting a high-quality video is the final (and most crucial) step in your editing process. If done right, your footage will retain sharpness, vibrant color, and smooth motion across platforms. Done wrong, and it might look pixelated, washed out, or out of sync.
In this guide, you’ll learn how to export videos from Adobe Premiere Pro with the best quality settings. Whether you’re uploading to YouTube, delivering to clients, or archiving for future use, these steps ensure your visuals stay crisp and professional.
Let’s walk through the best settings, formats, and hidden tips to make sure your hard work looks its absolute best.
Step-by-Step Guide
- Finish and Review Your Timeline: Scrub through your sequence to check for glitches, unrendered effects, or missing assets. Ensure all color corrections, titles, and audio are finalized.
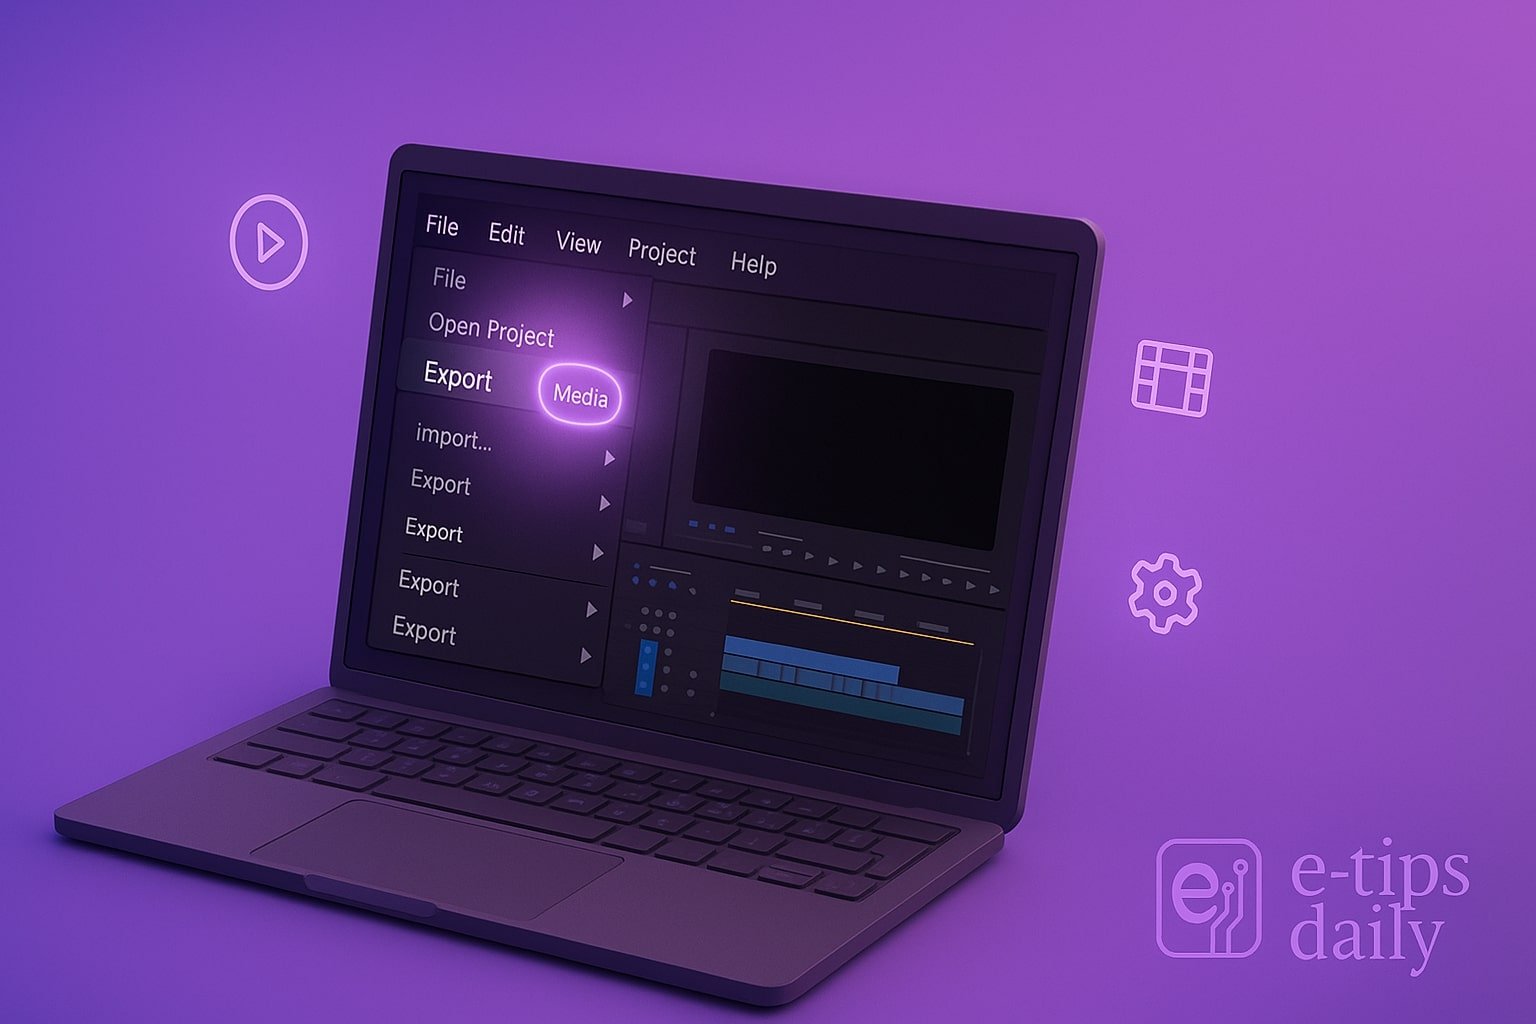
- Go to the Export Panel: With your sequence active, go to File > Export > Media or press Ctrl + M (Windows) / Cmd + M (Mac). This opens the Export Settings window.
- Choose Format: H.264 for Web or ProRes for Mastering
- H.264: Best for YouTube, Vimeo, social media.
- Apple ProRes / DNxHR: Ideal for mastering or client delivery.
- Select a Preset or Create Your Own: For web, choose “YouTube 1080p HD” or “High Quality 1080p HD”. For full control, click Match Source – High Bitrate, then tweak settings.
- Adjust Basic Video Settings
- Set Resolution to match your sequence (e.g., 1920×1080 or 3840×2160)
- Set Frame Rate to your original timeline (usually 23.976 or 30 fps)
- Ensure Field Order is set to Progressive
- Set Bitrate Encoding to VBR, 2 Pass: This gives better quality than 1-pass and more efficient compression.
- Target Bitrate: 10-20 Mbps for 1080p, 40-60 Mbps for 4K
- Max Bitrate: Slightly higher than target
- Enable Render at Maximum Depth: Improves color accuracy, especially with high-bit-depth sources.
- Check Use Maximum Render Quality: Boosts sharpness, especially with scaling. Slightly longer render time, but worth it.
- Set Output Name and Destination: Click the blue file name to choose a folder and filename. Make it descriptive (e.g., “ProjectName_Final_1080p_HQ.mp4”).
- Review Summary and Export: Double-check the summary box at the bottom for resolution, frame rate, audio, etc. Then click Export or Queue (to send to Media Encoder).
Pro Tips & Workflow Improvements
- Use Media Encoder for Batch Exporting multiple sequences without locking up Premiere.
- Create Export Presets for different platforms (e.g., YouTube, Instagram, Vimeo).
- Enable GPU Acceleration in Project Settings for faster rendering.
- Export Audio Separately in WAV for high-quality sound mastering.
- Use LUTs Consistently across editing and export to maintain color accuracy.
Advanced Use Case: Mastering in ProRes Then Downscaling
Export your timeline in ProRes 422 HQ for archiving. Then re-import that master file into a new sequence and export to H.264 for web delivery. This two-step process retains better detail and color integrity.
Troubleshooting & Common Mistakes
- Export Looks Washed Out? Ensure you’re using the correct color space (Rec.709) and disable “Hardware Accelerated Decoding” if needed.
- File Size Too Large? Lower the Target Bitrate, or use 1-pass VBR if speed matters.
- Choppy Playback? Use a constant frame rate and match sequence settings.
- Audio Out of Sync? Match sample rates (e.g., 48kHz) between sequence and export.
- Missing Effects in Export? Pre-render them using Sequence > Render Effects In to Out.
Conclusion
Exporting high-quality video from Premiere Pro is all about balancing file size, playback compatibility, and visual fidelity. With these best practices and a bit of experimentation, you can ensure every video leaves your timeline in its best possible form.
Next up? Learn how to automate exports with Media Encoder watch folders!