Mirroring your iPhone display on a Mac lets you enjoy mobile apps, photos, videos, and presentations on a bigger screen. Whether you’re demoing an app, streaming video, or recording a tutorial, screen mirroring gives you more flexibility and clarity.
In this guide, you’ll learn two primary methods: using AirPlay wirelessly on macOS Monterey (12) or later, and using QuickTime Player wired via Lightning cable on earlier macOS versions. By the end, you’ll be able to mirror your screen seamlessly, record your iPhone display, and troubleshoot common hiccups.
Let’s get started—no extra software needed, just your iPhone, Mac, and (for one method) a Lightning or USB-C cable.
Step-by-Step Guide
Method 1: Wireless Mirroring with AirPlay (macOS Monterey or Later)
- Connect to the Same Wi-Fi Network
- On your iPhone, go to Settings > Wi-Fi and join your home or office network.
- On your Mac, click the Wi-Fi icon in the menu bar and ensure you’re on the same network.
- Enable AirPlay Receiver on Mac
- Open System Settings (or System Preferences) on your Mac.
- Click General > AirDrop & Handoff (or Sharing on older macOS).
- Toggle on AirPlay Receiver, then choose “Current User” or “Anyone on the same network.”
- Open Control Center on iPhone
- Swipe down from the top-right corner (Face ID models) or swipe up from the bottom (Touch ID).
- Tap Screen Mirroring (two overlapping rectangles icon).
- Select Your Mac
- In the list, tap the name of your Mac (e.g., “John’s MacBook Pro”).
- A connection request may appear; tap Allow on your Mac if prompted.
- Adjust Mirroring Settings
- To see device audio on your Mac’s speakers, click the Volume icon in the menu bar and choose your Mac’s output.
- To stop mirroring, open Control Center again and tap Screen Mirroring > Stop Mirroring.
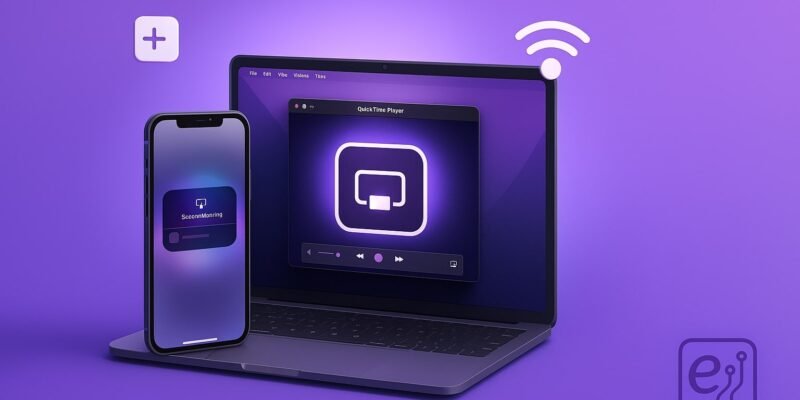
Method 2: Wired Mirroring & Recording with QuickTime Player
- Connect Your iPhone to Your Mac
- Use the Lightning-to-USB or USB-C-to-Lightning cable that came with your iPhone.
- Unlock your iPhone and tap Trust This Computer if prompted.
- Launch QuickTime Player
- Open Applications > QuickTime Player.
- From the menu bar, choose File > New Movie Recording.
- Select Your iPhone as Camera Source
- In the Movie Recording window, click the arrow next to the red Record button.
- Under Camera, choose your iPhone. Also select your iPhone under Microphone if you want to record audio.
- Start Mirroring
- Your iPhone screen appears in the QuickTime window.
- To record, simply click the Record button. Click it again to stop.
- Save or Export Recording
- After stopping, go to File > Save, name your file, and pick a location.
- For smaller file sizes, choose File > Export As and select a resolution.
Pro Tips & Workflow Improvements
- Use Focus Modes on iPhone to silence notifications during mirroring or recording. Go to Settings > Focus to configure.
- Optimize Quality vs. Performance: If you experience lag, reduce your Mac’s display resolution (System Settings > Displays) or close background apps.
- Keyboard Shortcuts:
- ⌘ + Control + N in QuickTime starts a new recording.
- Option + click the Volume icon on Mac to switch audio input/output quickly.
- Third-Party Tools: Apps like Reflector or AirServer offer multi-device mirroring, annotation, and enhanced performance.
- Wireless Recording: You can record an AirPlay session by opening QuickTime and choosing your Mac’s own AirPlay Receiver as the source.
Advanced Use Case: Batch Recording & Automation
If you need to capture multiple iPhone demos:
- Automate with AppleScript – Script QuickTime to open, record for a set duration, then save.
- Use Shortcuts on iPhone – Create a custom shortcut to enable Do Not Disturb, start a timer, then automatically open Control Center and mirror.
- Integrate with OBS Studio – On your Mac, add your AirPlay Receiver or QuickTime window as a video source in OBS for live streaming or professional overlays.
Troubleshooting & Common Mistakes
- Mirroring Option Not Showing:
- Ensure both devices are on the same Wi-Fi network and within range.
- Disable any VPNs or firewalls temporarily.
- Audio Doesn’t Play on Mac:
- Click the Mac’s Volume icon and select AirPlay or QuickTime as the output.
- Check System Settings > Sound to confirm the correct output device.
- Lag or Stuttering:
- Lower your Mac’s display resolution or close CPU-intensive apps.
- For wireless mirroring, move closer to your Wi-Fi router or switch to 5 GHz band.
- QuickTime Won’t Recognize iPhone:
- Make sure your cable is MFi-certified and free of damage.
- Reboot both devices, then re-authorize the Mac by tapping Trust on the iPhone.
- AirPlay Disconnects Unexpectedly:
- Disable Bluetooth interference by turning it off if unused.
- Restart the AirPlay Receiver service: toggle off and on in System Settings.
Conclusion
You now have two reliable ways to mirror your iPhone screen on a Mac—wirelessly via AirPlay for quick demos, or wired via QuickTime for high-quality recording. Practice these steps to find the workflow that best suits your needs, whether you’re presenting, teaching, or creating video content.
Next up, consider exploring how to annotate live mirror sessions with third-party overlay tools, or dive into editing your recorded clips in iMovie or Final Cut Pro. Happy mirroring!