
Rendering in Blender with the Cycles engine gives you photorealistic results by simulating real-world lighting. Whether you’re creating product visualizations, animations, or stunning 3D environments, Cycles can deliver crisp, high-quality outputs—if you know how to use it properly.
In this guide, you’ll learn everything from setting up Cycles to optimizing render settings for the best balance between speed and quality. We’ll walk through the full rendering pipeline, including common pitfalls and bonus pro tips for faster renders.
By the end, you’ll be ready to render your scene like a pro—without wasting hours on trial and error.
Step-by-Step Guide to Rendering with Cycles
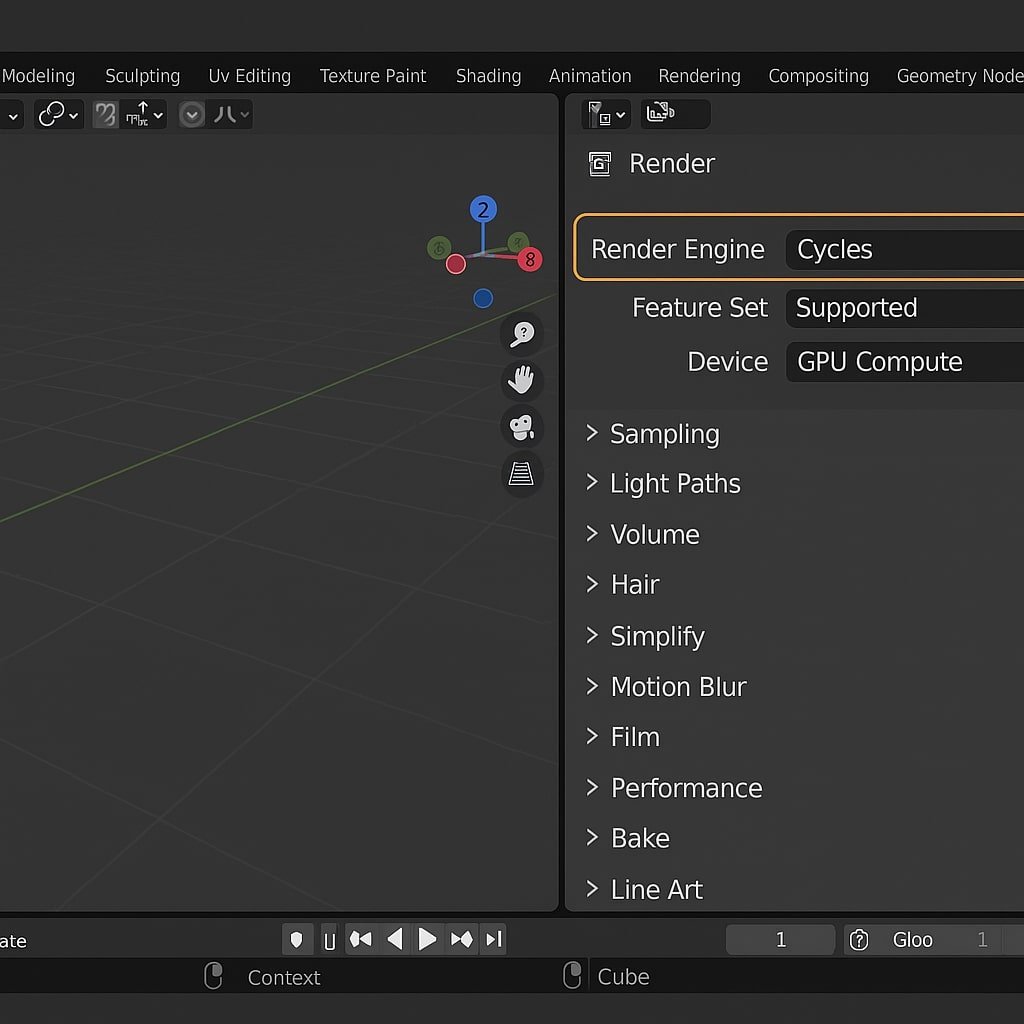
Switch to the Cycles Render Engine
- Go to the Render Properties tab (camera icon).
- Under Render Engine, choose Cycles.
- Optional: Select GPU Compute or CPU based on your hardware.
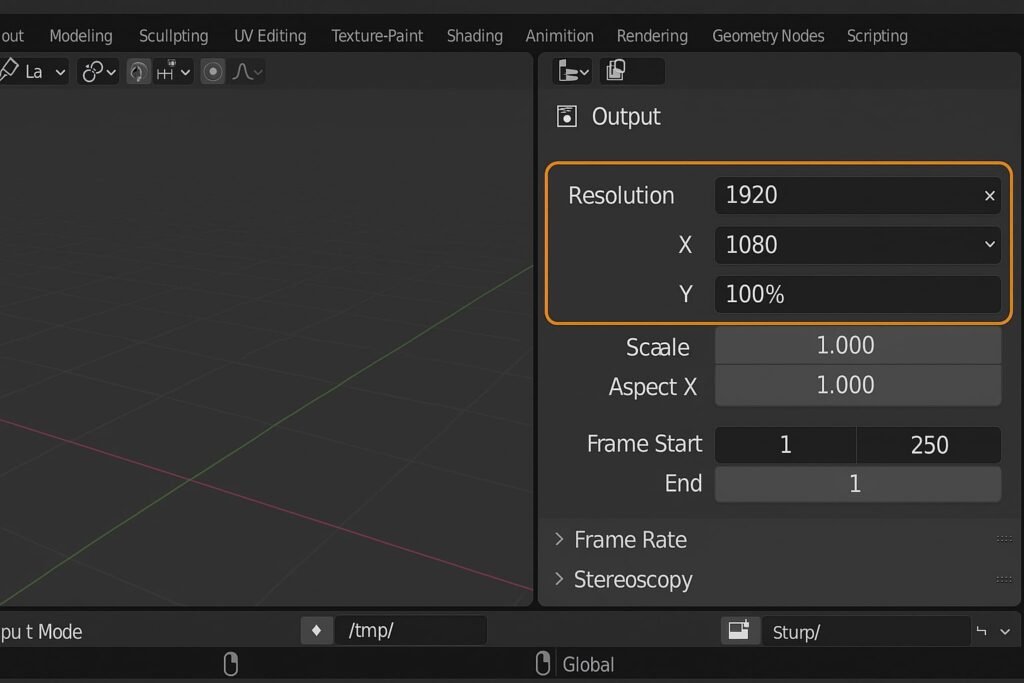
Set Up Your Output Resolution
- Still in Render Properties, expand the Output Properties (printer icon).
- Set your resolution (e.g., 1920×1080 for Full HD) and percentage scale (100%).
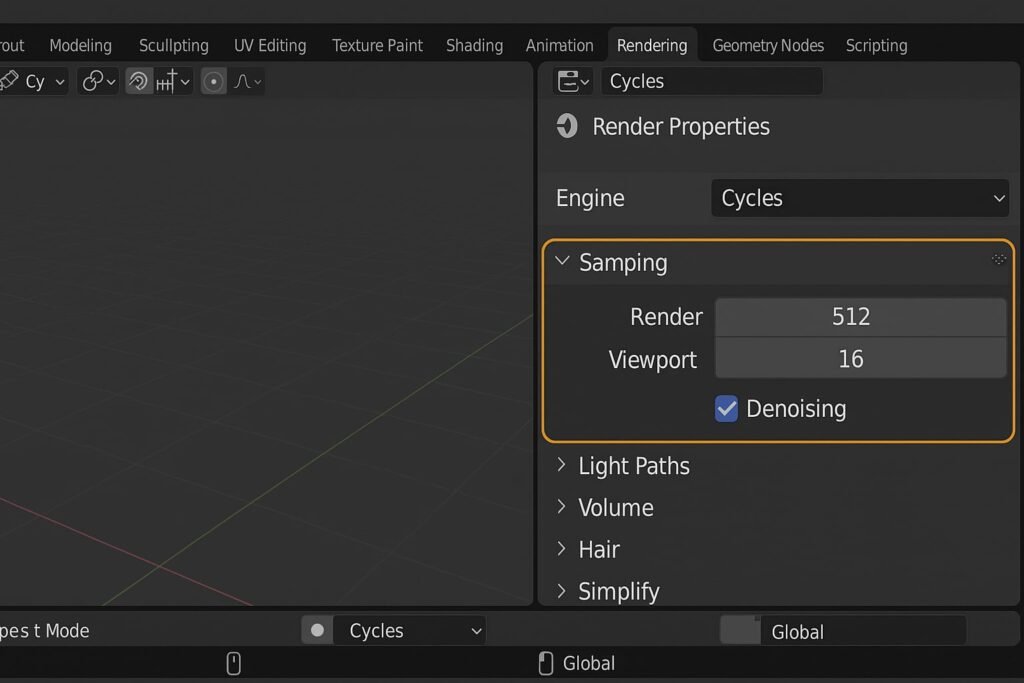
Choose Your Sampling Settings
- Back under Render Properties, locate Sampling.
- Set Render Samples (e.g., 128 for fast render, 512–1024 for high quality).
- You can also enable Denoising to clean up noise in the final image.
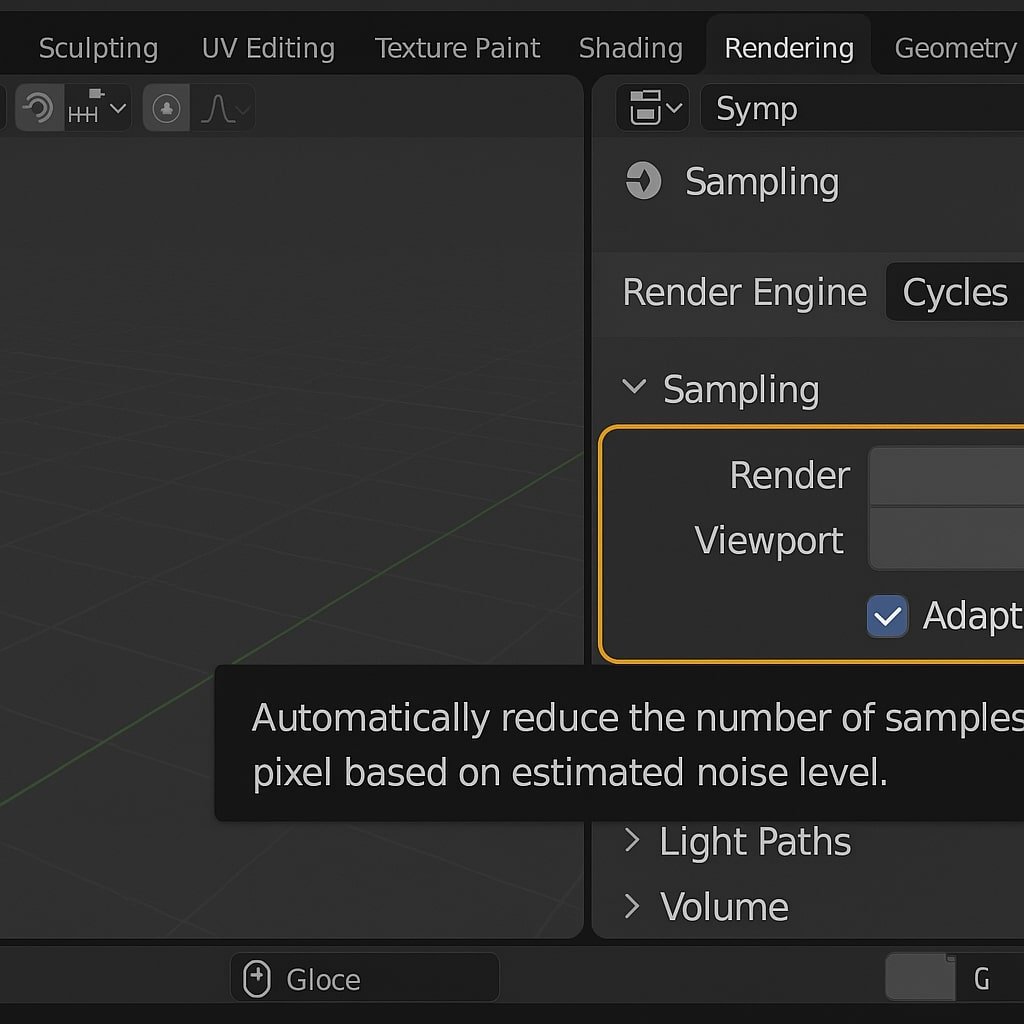
Enable Adaptive Sampling (Optional but Efficient)
- In Sampling, turn on Adaptive Sampling.
- This helps Blender use more samples in complex areas and fewer in simpler ones.
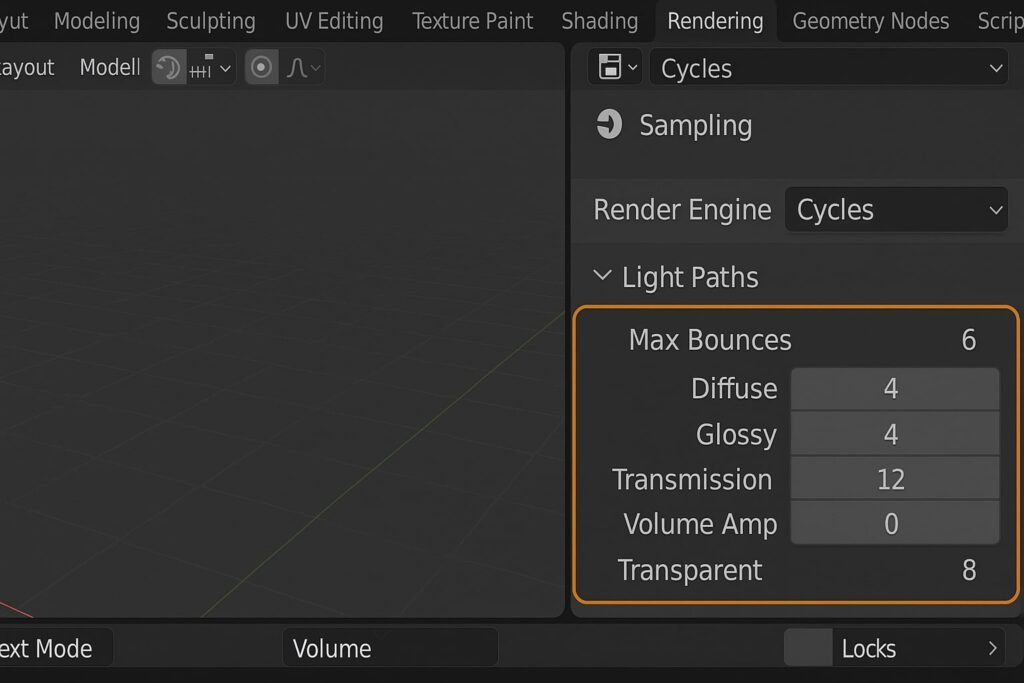
Optimize Light Paths for Quality or Speed
- Under Light Paths, adjust Max Bounces (e.g., 4–6 for balanced results).
- You can reduce Diffuse, Glossy, and Transmission Bounces to speed up renders.
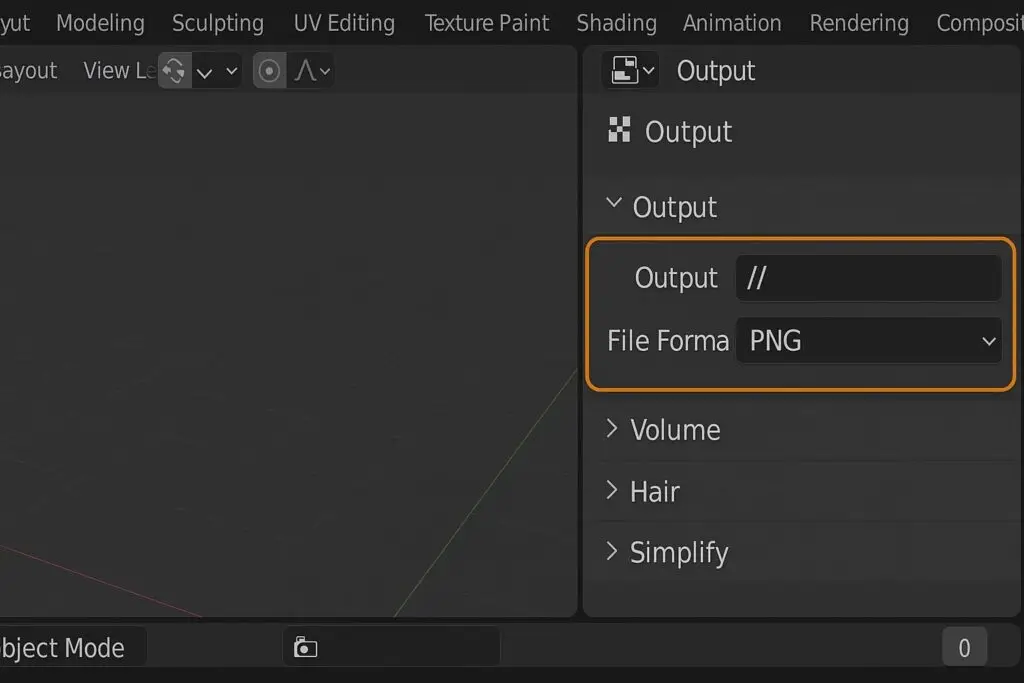
Set Your Render Output Path
- In Output Properties, set a folder path under Output.
- Choose a file format like PNG or EXR, and enable RGB or RGBA for transparency.
Enable GPU Rendering (If Available)
- Go to Edit > Preferences > System.
- Under Cycles Render Devices, select your GPU (CUDA, OptiX, or HIP).
- Restart Blender for changes to take effect.

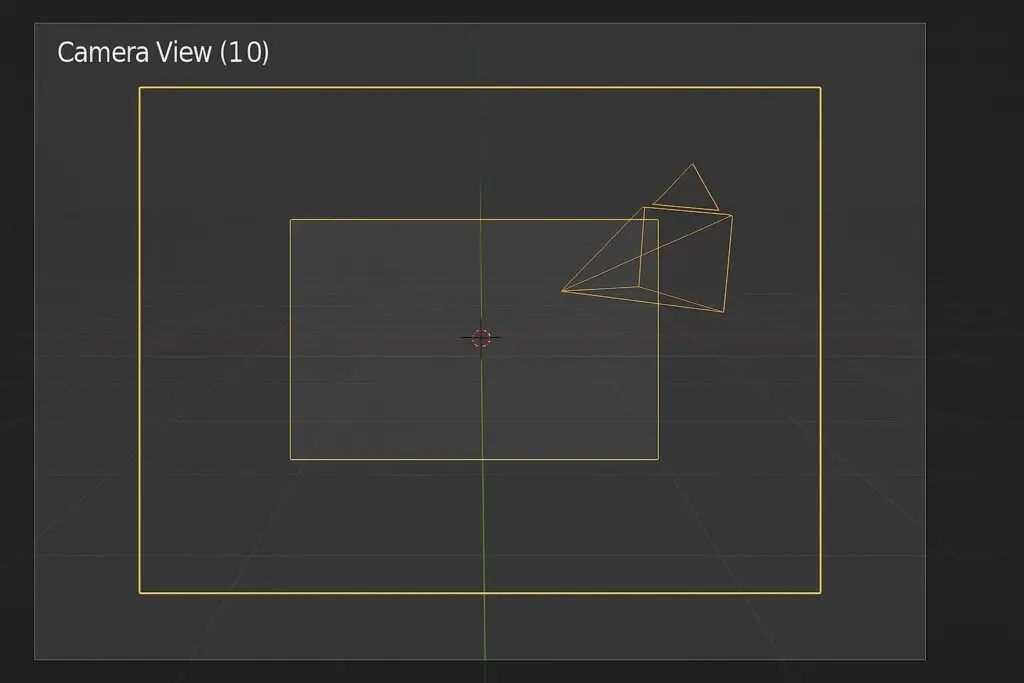
Add a Camera and Frame Your Shot
- Press Shift + A > Camera, then use Numpad 0 to view through it.
- Adjust the camera’s position and rotation, or use View > Align View > Align Active Camera to View.
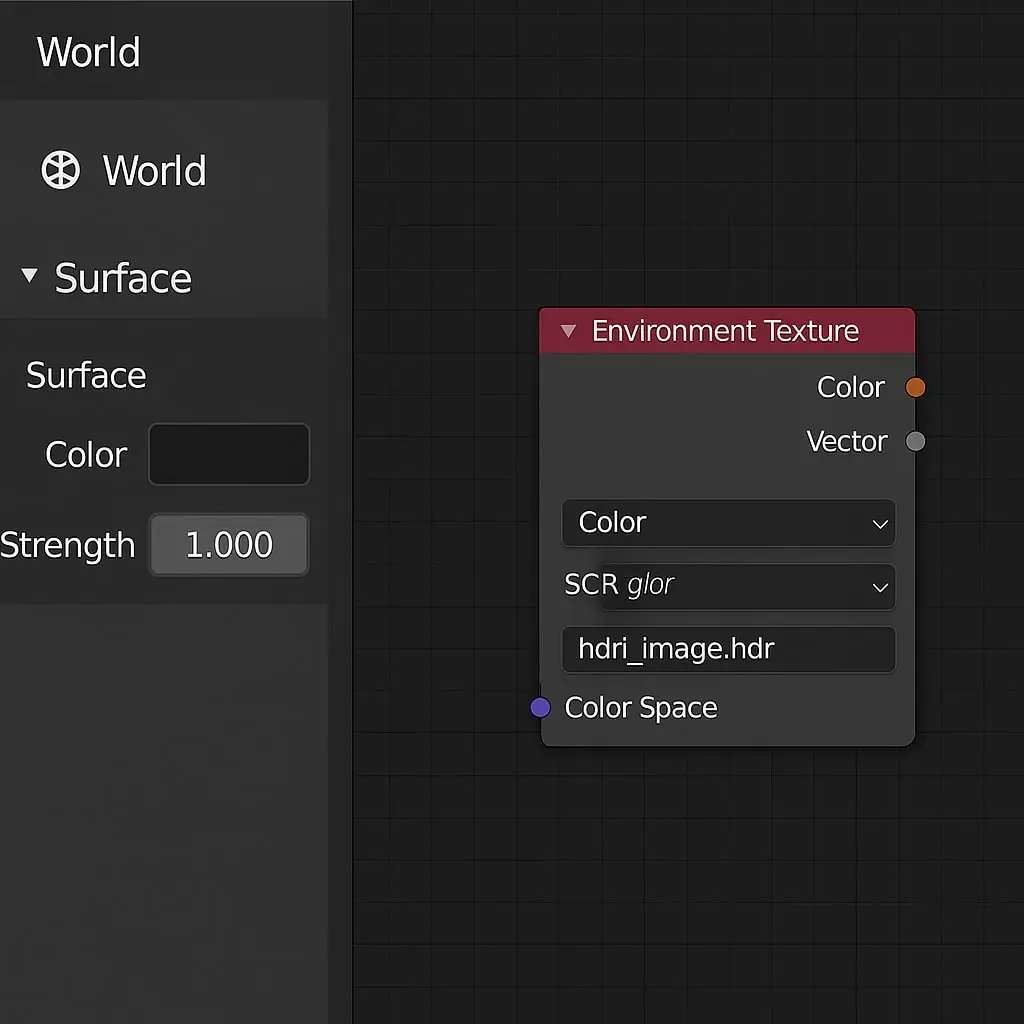
Add Lighting (HDRIs or Lamps)
- Use Area Lights, Sun Lamps, or an HDRI Environment Texture in the World Properties for natural lighting.
- HDRIs are especially useful for photorealistic outdoor scenes.
Preview Your Scene with Rendered View
- Switch the viewport to Rendered mode to see how Cycles is interpreting your scene.
Render the Final Image
- Press F12 or go to Render > Render Image.
- Once complete, save your image via Image > Save As in the render window.
Pro Tips & Workflow Improvements
- Use Intel Open Image Denoise (OIDN) or NVIDIA OptiX for faster and cleaner denoising.
- Render in Tiles: Go to Performance > Tiles and set tile size (e.g., 256×256 for GPU, 16×16 for CPU).
- Use Render Layers for compositing different objects or lighting setups.
- Try Light Clamping: Limit max brightness values to reduce fireflies.
- Bake Static Elements: For animations, baking static lighting can significantly reduce render times.
Advanced Use Case: Batch Rendering Multiple Cameras
If you have multiple camera angles to render:
- Use View Layers or set up a script with the Python API to loop through cameras.
- Combine with Render Queue Add-on (comes with Blender) for scheduling.
Troubleshooting & Common Mistakes
- Black Render Output
- Check if the camera is active and properly framed.
- Ensure there’s lighting in the scene.
- Render is Noisy
- Increase samples or enable denoising.
- Try light path clamping or using fewer bounces.
- Render is Slow
- Lower samples, bounces, or resolution.
- Use GPU rendering and adaptive sampling.
- CUDA/OptiX Not Available
- Ensure drivers are up to date and supported by Blender.
- Re-check settings in Edit > Preferences > System.
- Denoising Makes Image Blurry
- Reduce denoising strength or tweak settings per pass in Compositor.
Conclusion
Rendering in Cycles offers a beautiful balance between realism and control—once you get the settings right. Now you know how to fully configure your scene, optimize for speed or quality, and troubleshoot common rendering problems.
Practice rendering small scenes and tweak settings to see how each one affects the final image. Next up, explore Compositing in Blender to enhance your renders even further!