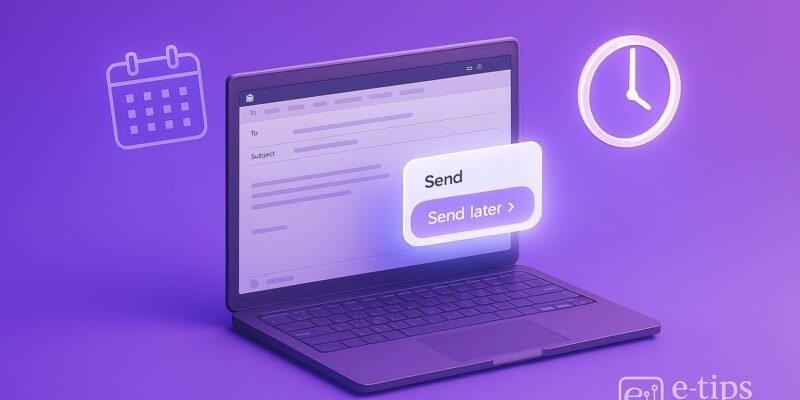
Ever wish you could write an email now and have it sent later automatically? With Outlook’s email scheduling feature, you can do exactly that — perfect for sending emails during business hours, avoiding weekends, or planning follow-ups in advance.
Whether you’re using Outlook on your desktop, through the web, or on a mobile app, this guide walks you through every method. By the end, you’ll know how to confidently delay or schedule email delivery like a pro.
Let’s dive into how to make your inbox work smarter.
Step-by-Step Guide: How to Schedule Emails in Outlook
✅ On Outlook for Windows (Desktop App)
- Open Outlook and Compose a New Email
- Click New Email on the Home tab.
- Fill in the recipient, subject, and message.
- Access Delay Delivery Options: In the message window, go to Options > Delay Delivery.
- Set the Delivery Time
- Under Delivery options, check Do not deliver before.
- Choose your desired date and time.
- Close the Dialog and Send
- Click Close on the delay window.
- Then hit Send — Outlook will hold the email until the specified time.
⚠️ Note: Your Outlook must remain open for the email to send at the scheduled time.
✅ On Outlook for Mac (New Outlook)
- Compose a New Email: Click New Message and draft your email as usual.
- Schedule the Email: Click the arrow next to Send > Send Later.
- Pick a Date and Time
- Use the calendar and clock to set your desired send time.
- Click Send — your email will be queued and sent at that time.
✅ Mac Outlook doesn’t require the app to stay open — it syncs with the cloud.
✅ On Outlook Web (Outlook.com or Outlook in Browser)
- Click ‘New Message’ to Compose: Enter all email details as normal.
- Click the Dropdown Arrow Next to ‘Send’: Select Send later.
- Choose Send Time: Pick a date and time, then confirm by clicking Send.
🌐 Outlook Web supports scheduled sending even if the browser is closed.
✅ On Outlook Mobile App (iOS and Android)
- Compose Your Email: Tap the + icon or New Message.
- Tap the Three Dots (…) Located at the top-right of the message window.
- Select ‘Schedule Send‘: Choose a time or set a custom date and time.
- Confirm and Schedule: Tap Send Later — your message will now be sent at the chosen time.
📱 Make sure you’re using the latest version of the app for this feature.
Pro Tips & Workflow Improvements
- ✅ Use Scheduling for Time Zones: Perfect for clients in different regions — schedule delivery during their local business hours.
- 🕒 Batch Compose and Schedule: Write multiple emails at once and space them out with staggered send times.
- 🔁 Use with Templates: Combine with Outlook templates to automate regular outreach.
- 🔄 Combine with Rules and Delays: Use rules to trigger follow-ups or auto-responses post-scheduled sends.
- 🔔 Enable ‘Undo Send’ in Outlook Web: Offers a short window to retract even scheduled emails.
Advanced Use Case: Scheduling Recurring Emails with Power Automate
If you want to send recurring scheduled emails (e.g., weekly reports), use Microsoft Power Automate:
- Go to Power Automate.
- Create a scheduled flow.
- Add the “Send an email (V2)” action.
- Set the frequency and content.
This allows full automation of repeated scheduled emails.
Troubleshooting & Common Mistakes
- ❌ Email Didn’t Send? Check if Outlook (desktop) was closed — it must remain open and connected to the internet.
- ⛔ Option Missing in Mac? Make sure you’re using the New Outlook version. Classic Outlook doesn’t support Send Later.
- 🛑 No ‘Send Later’ in Mobile App? Update the app. Scheduling is only available in recent versions.
- ⚙️ Wrong Time Zone? Outlook schedules emails based on your current device time zone. Double-check settings before sending.
- 📤 Email Stuck in Outbox? Check your internet connection or restart Outlook.
Conclusion
Now you know exactly how to schedule emails in Outlook — whether you’re on your desktop, web, or mobile. It’s a powerful way to boost productivity, manage time zones, and plan communications in advance.
🎯 Ready for the next step? Learn how to recall or replace a sent email in Outlook — another key productivity tool!

