BitLocker is Microsoft’s built-in encryption tool that protects your data by encrypting entire drives. Whether you want to secure a work laptop or prevent data loss from theft, BitLocker provides a powerful and user-friendly solution.
In this guide, you’ll learn how to enable BitLocker on your Windows device, set up recovery options, and understand best practices for securing your drive. This tutorial covers both Windows 10 and Windows 11.
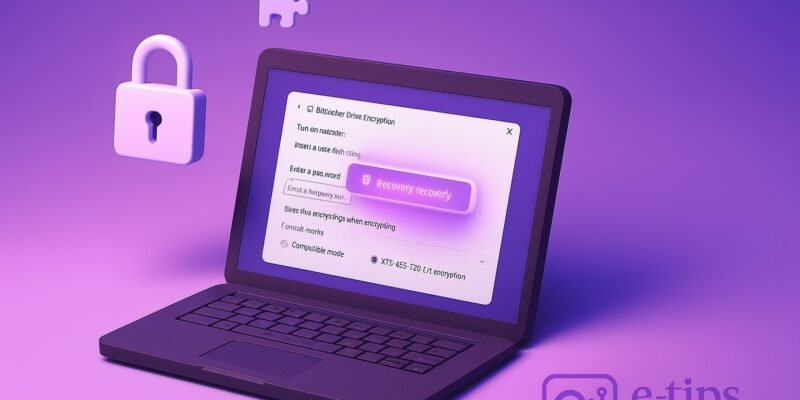
Step-by-Step Guide to Set Up BitLocker
- Check if Your Device Supports BitLocker
- BitLocker is available on Windows 10/11 Pro, Enterprise, and Education editions.
- To check your edition, go to Settings > System > About.
- Open BitLocker Settings
- Press Windows + S, type “Manage BitLocker“, and select the result.
- Choose the Drive to Encrypt
- In the BitLocker Drive Encryption window, select the drive you want to encrypt and click Turn on BitLocker.
- Choose How You Want to Unlock the Drive
- You can use a password or smart card. For system drives, you might also see TPM-only, TPM + PIN, or USB key options.
- Set a Recovery Method
- Save your recovery key by choosing one or more options:
- Save to your Microsoft account
- Save to a USB drive
- Save to a file
- Print the recovery key
- Important: Store the recovery key in a safe, separate location.
- Save your recovery key by choosing one or more options:
- Choose How Much of Your Drive to Encrypt
- Encrypt used disk space only (faster for new PCs)
- Encrypt entire drive (better for older devices or reused PCs)
- Choose Encryption Mode
- New encryption mode (XTS-AES) for fixed/internal drives
- Compatible mode for removable drives
- Start Encryption
- Click Start encrypting. The process may take time based on your drive size and speed.
- Wait for Encryption to Complete
- You can use your PC during encryption, but avoid shutting it down. Once complete, the drive will show as “BitLocker on.”
Pro Tips & Workflow Improvements
- Use TPM (Trusted Platform Module) for seamless startup encryption without entering a password.
- Group Policy settings allow IT admins to enforce encryption across many devices.
- Use BitLocker To Go for encrypting USB drives with the same interface.
- Pause encryption anytime from the BitLocker management screen.
- To unlock drives automatically, set up BitLocker auto-unlock for secondary drives.
Advanced Use Case
- Script BitLocker Setup: IT pros can automate BitLocker deployment using PowerShell:
Enable-BitLocker -MountPoint "C:" -EncryptionMethod XtsAes256 -UsedSpaceOnly -TPMandPinProtector
- Combine with Microsoft Intune or System Center Configuration Manager (SCCM) for enterprise-wide deployment.
Troubleshooting & Common Mistakes
- BitLocker not available? Upgrade to Windows Pro or check if TPM is disabled in BIOS.
- Lost recovery key? You may need to reset the drive; always back up your key.
- TPM issues? Clear TPM in BIOS or update firmware.
- Slow encryption? Use the “encrypt used space only” option for faster setup.
- Drive won’t unlock? Verify you’re entering the correct PIN or try the recovery key.
Conclusion By setting up BitLocker, you’re adding a robust layer of protection to your files and system. Practice using recovery keys, and consider encrypting both internal and external drives for full coverage.
Next up: Learn how to manage BitLocker using PowerShell and create custom encryption policies.