Working on too many tasks at once can clutter your screen and your brain. That’s where multiple desktops come in. Windows lets you create separate desktop spaces for different projects, helping you stay focused and organized.
In this guide, you’ll learn how to create, manage, and customize multiple desktops in Windows. Whether you want to separate work from personal tasks or run several full-screen apps without overlapping windows, this tutorial has you covered.
Let’s dive in and level up your multitasking game.
Step-by-Step Guide: Setting Up and Managing Multiple Desktops
1. Open Task View
- Click the Task View button (two overlapping rectangles) on your taskbar.
- Or press Windows + Tab on your keyboard.
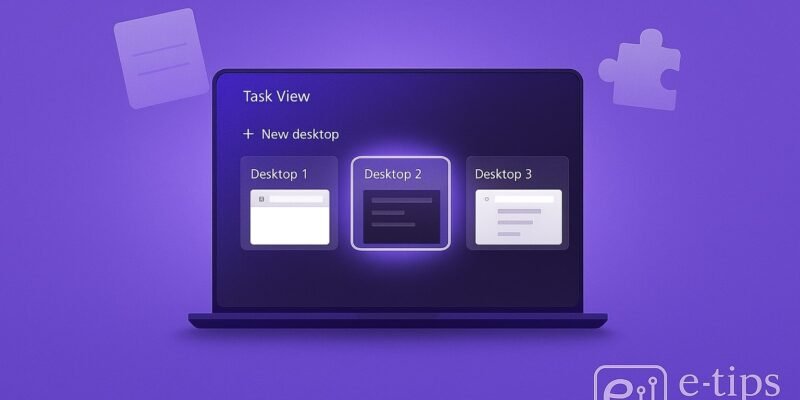
2. Create a New Desktop
- In Task View, click + New Desktop in the top-left or top-center area.
- A new desktop appears with a clean slate—no open apps.
3. Switch Between Desktops
- Use Windows + Ctrl + Left/Right Arrow to quickly cycle through desktops.
- Or open Task View and click on the desktop you want to switch to.
4. Move Apps Between Desktops
- In Task View, hover over a desktop to preview its apps.
- Drag an app window from one desktop preview to another.
- Or right-click an app in Task View > Move to > choose the target desktop.
5. Rename Desktops (Windows 11)
- In Task View, right-click the desktop name (e.g., Desktop 1) > Rename.
- Give it a name like “Work,” “Gaming,” or “Research” to stay organized.
6. Set a Different Background for Each Desktop (Windows 11)
- In Task View, right-click a desktop > Choose background.
- Select a unique wallpaper for visual clarity.
7. Close a Desktop
- Open Task View and hover over the desktop.
- Click the X button in the top-right corner of the desktop thumbnail.
- Any open apps will move to the previous desktop—not close.
Pro Tips & Workflow Improvements
- 🧠 Project Isolation: Use separate desktops for each client, subject, or type of task.
- ⚡ Use Virtual Desktops + Snap Layouts (Windows 11): Combine desktops with Snap Layouts for even better window management.
- 🔁 Cycle Desktops Like a Pro: Use Windows + Ctrl + F4 to close the current desktop quickly.
- 📂 Open File Explorer Instances in Different Desktops: Helps reduce visual clutter when multitasking.
- 🕶️ Use Desktops for Focus Sessions: Pair with Focus Assist for a distraction-free environment.
Advanced Use Case: Multiple Monitors + Desktops
You can use multiple monitors and multiple desktops for ultimate productivity:
- Assign a different desktop to each monitor.
- Use Snap to place different apps in dedicated quadrants.
- Combine this with PowerToys FancyZones for custom window layouts.
Troubleshooting & Common Mistakes
1. “Task View not working”
- Fix: Right-click the taskbar > Taskbar settings > enable Task View button.
2. Can’t Rename or Set Background
- Only available on Windows 11. Update your system if you’re on Windows 10.
3. Desktops Seem to Share Apps
- Some apps (like browsers) may reopen in all desktops unless manually moved.
4. Accidentally Closed a Desktop
- You can’t undo this, but the apps aren’t lost—they move to another desktop.
5. Keyboard Shortcuts Not Working
- Check if Sticky Keys or other accessibility features are interfering.
Conclusion
Multiple desktops in Windows are a powerful yet underused feature. Now that you know how to set them up, switch between them, and customize each space, you can work smarter—not harder.
Try using a dedicated desktop for email, another for focused work, and a third for calls or meetings. Once you get the hang of it, you’ll never want to go back to a single crowded screen.