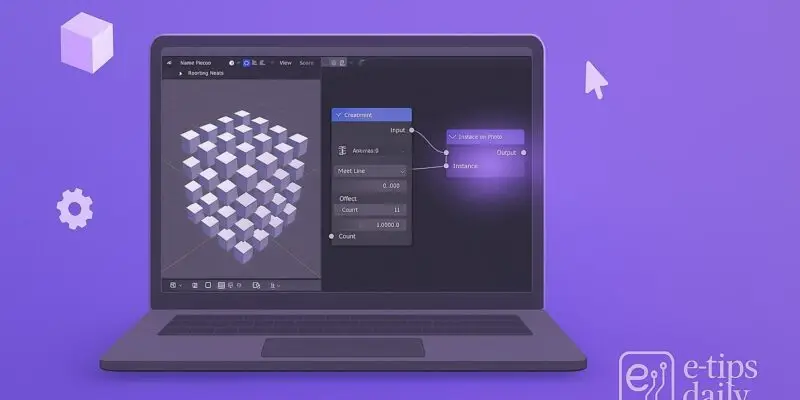
Geometry Nodes in Blender open up a world of procedural modeling and animation. Instead of sculpting or modeling by hand, you build your scenes using node-based logic. This method is fast, flexible, and incredibly powerful for creating complex patterns, landscapes, and generative designs.
In this beginner-friendly guide, you’ll learn how to get started with Geometry Nodes from scratch. You’ll build a simple procedural object and get familiar with the interface, node types, and workflows. By the end, you’ll understand the basics and be ready to start exploring more complex node setups.
Blender’s Geometry Nodes: Step-by-Step Guide
1. Open Blender and Set Up a New Project
- Launch Blender and select General to start a new project.
- Delete the default cube if you want a clean slate: press X and confirm.
2. Add a New Object for Geometry Nodes
- Go to Add > Mesh > Plane (or any mesh object).
- With the object selected, go to the Modifiers tab and click Add Modifier > Geometry Nodes.
- Click New to create a new node tree.
3. Familiarize Yourself with the Geometry Nodes Editor
- Switch your bottom panel to Geometry Node Editor.
- You’ll see two nodes: Group Input and Group Output.
- The data flows left to right: your setup starts at Group Input and ends at Group Output.
4. Add a Basic Modifier Node
- Press Shift + A to bring up the Add menu.
- Go to Mesh > Cube and add a Cube node.
- Connect the output of the Cube node to the Group Output’s Geometry input.
5. Experiment with Transforming Geometry
- Add a Transform node (Geometry > Transform).
- Place it between the Cube and Group Output by connecting it in the chain.
- Use the fields to scale, move, or rotate the object procedurally.
6. Add a Grid of Objects (Instance on Points)
- Add a Mesh Line node to create a row of points.
- Add Instance on Points and connect Mesh Line to its Points input.
- Use a Cube node again as the Instance and connect its output.
- Feed the result into the Group Output.
7. Tweak and Customize the Layout
- Adjust the Count in the Mesh Line node to change how many cubes appear.
- Use a Combine XYZ node to control spacing by connecting it to the Offset.
8. Add Randomization
- Use a Random Value node connected to Scale or Rotation inputs.
- This gives each instance a unique look, perfect for abstract layouts.
9. Use a Join Geometry Node
- Add Join Geometry to combine multiple outputs (e.g., two grids).
- Connect everything to one final Group Output.
10. Organize and Rename Your Nodes
- Use frames (Shift + P) to group nodes logically.
- Rename the node group in the Modifier panel to keep things tidy.
Pro Tips & Workflow Improvements
- Use the M key to mute nodes and test differences easily.
- Alt + Right Click drag to connect multiple outputs to a single input.
- Switch to Wireframe mode (Z > Wireframe) to better see your geometry layout.
- Save reusable setups as Node Groups for later projects.
- Try combining Geometry Nodes with Modifiers like Subdivision Surface for smoother results.
Advanced Use Case: Creating a Procedural Fence
- Use a curve as a base path.
- Use Curve to Points and Instance on Points with a plank mesh.
- Adjust spacing and rotation for realistic results.
This introduces curves, instancing, and orientation settings—a next-level but manageable project.
Troubleshooting & Common Mistakes
- Nothing shows up? Make sure your nodes are connected to Group Output.
- Weird scaling? Double-check the transform or scale settings on both the object and instance.
- Laggy viewport? Too many instances can slow performance. Reduce count.
- Node errors? Hover over the red line or dot for a tooltip explaining what’s wrong.
- No shading or materials? Geometry Nodes don’t carry materials by default. Assign them in the main Shader editor.
Conclusion
You just created your first procedural model with Blender’s Geometry Nodes! You learned how to use nodes to build, transform, and instance geometry, all in a non-destructive, flexible way. Keep experimenting with new nodes, and try creating patterns, terrains, or even animations.
Ready for the next step? Check out our guide on using curves and splines in Geometry Nodes to take your setups to the next level!

