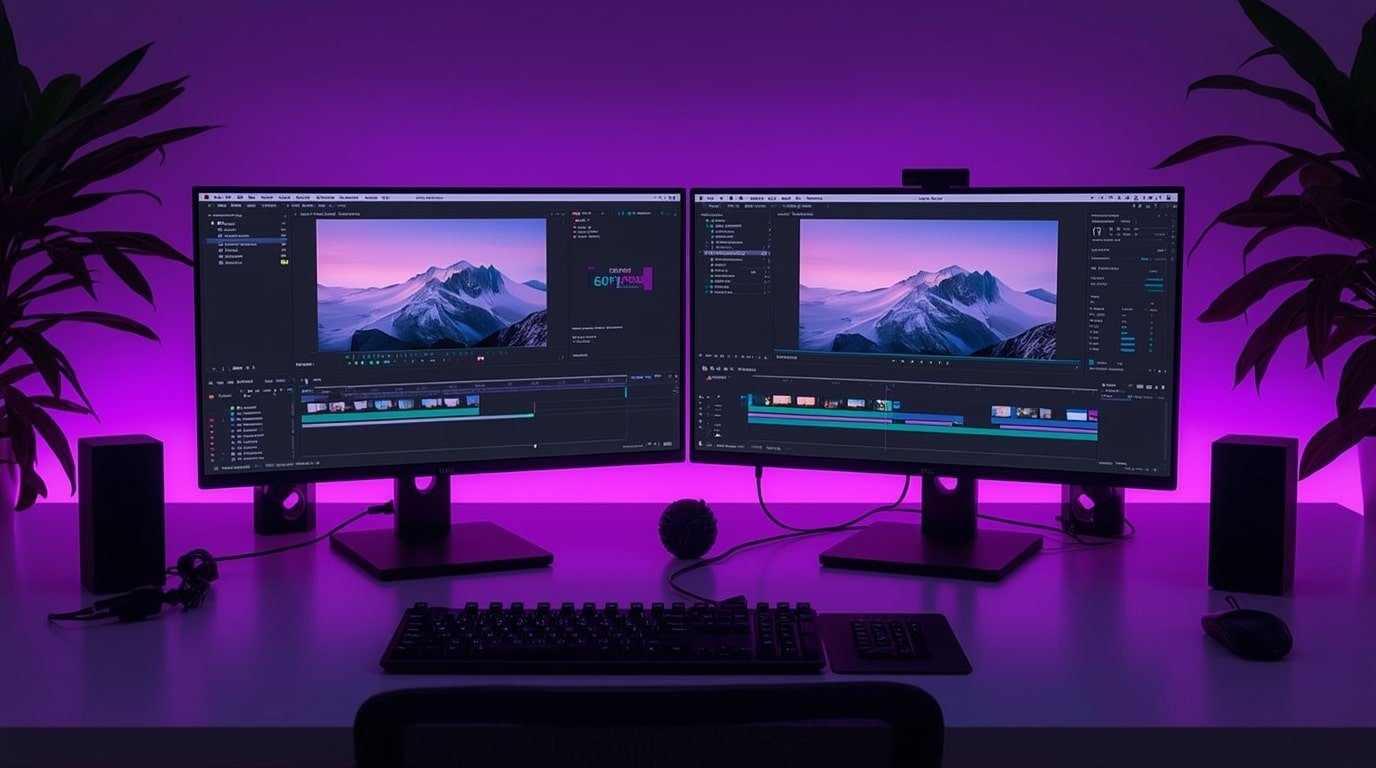
Want to boost your productivity without buying a second monitor? Split screen on a Mac lets you work in two apps side by side—perfect for writing while researching, comparing documents, or watching a video while taking notes.
In this guide, you’ll learn exactly how to activate split screen mode, adjust app placement, and get back to full screen—all in just a few clicks. Whether you’re a casual user or a multitasking pro, this feature can totally change how you work on your Mac.
Let’s break it down step-by-step.
Step-by-Step: How to Use Split Screen on Mac
1. Open the Two Apps You Want to Use
Make sure both apps are open, even if one is minimized. You can use Command + Tab to quickly switch between them.
2. Hover Over the Green Full-Screen Button
In the top-left corner of the first app window, hover over the green circle (not click). A menu will appear.
3. Choose a Side for the First App
From the hover menu, select “Tile Window to Left of Screen” or “Tile Window to Right of Screen.”
- Your screen will shift into Split View.
- The app you selected will snap to that side.
- You’ll see your other open windows on the opposite side.
4. Select the Second App
Click on the second app window from the available options. It will fill the other half of your screen.
5. Resize the Windows
Drag the black vertical divider in the center to adjust the width of each app.
- Some apps may have minimum width limits.
- The divider snaps to set positions for faster resizing.
6. Switch Between Split Screen and Desktop
Swipe up with three or four fingers on your trackpad to open Mission Control, or press F3.
- Here, you’ll see your Split View in a separate space at the top.
- You can also drag other apps into that space for a new split screen combo.
7. Exit Split Screen
Move your cursor to the top of the screen (if hidden) and click the green full-screen button again on either app.
- This returns the app to normal view.
- The other app will remain in full screen (exit it the same way).
Pro Tips & Workflow Improvements
- Quick Split with Mission Control: Drag an app window into the top bar in Mission Control, then drop another app onto it to create a new Split View space.
- Use Full Keyboard Access: Go to System Settings > Keyboard > Keyboard Navigation and enable tab navigation to control apps more efficiently in Split View.
- Use Stage Manager (macOS Ventura+): Stage Manager works with Split View and gives better window management options.
- Swap App Sides Quickly: Click and hold the title bar of either window, then drag it to the other side of the screen.
- Pair with Focus Modes: Set up Focus Modes to open apps in Split View as part of your productivity setup.
Advanced Use Case: Split Screen Across Multiple Desktops
If you use multiple Spaces (virtual desktops), you can:
- Open one app in full screen.
- Use Mission Control (F3) and drag another app into that space.
- It creates a Split View Space, accessible by swiping left/right with three fingers.
This allows you to create multiple custom app pairings for different workflows (e.g., writing + browser, email + calendar).
Troubleshooting & Common Mistakes
- App Doesn’t Support Split View: Not all apps (especially some third-party tools) support Split View. Try another compatible app.
- Can’t See Split View Options: You must hover, not click, the green button. Clicking it immediately maximizes the window.
- Green Button Is Missing: Resize the app window if it’s too small. Restart the app if needed.
- Stuck in Full Screen: If you can’t exit Split View, press Esc or use Mission Control to return to your desktop.
- Trackpad Gestures Not Working: Check System Settings > Trackpad > More Gestures to make sure gestures are enabled.
Conclusion
Split screen on Mac is a simple yet powerful way to multitask efficiently. Once you get the hang of it, switching between apps and organizing your workspace becomes a breeze.
Try pairing your most-used apps and experiment with different setups. Next, check out our guide on how to use Stage Manager for advanced multitasking on macOS Ventura and beyond!


