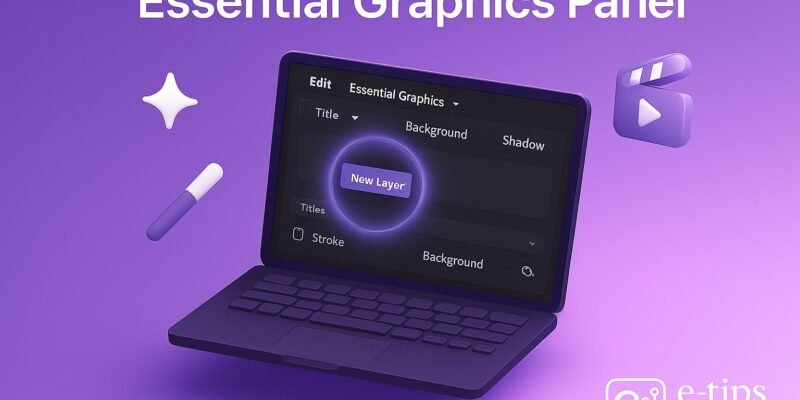
The Essential Graphics panel in Adobe Premiere Pro is your gateway to professional-looking titles, lower thirds, captions, and custom graphics—all without leaving the editing timeline. Whether you’re creating YouTube content, documentaries, or commercial projects, mastering this panel will elevate your videos with sleek, consistent visual branding.
In this tutorial, you’ll learn how to create, customize, and animate graphics directly in Premiere Pro using the Essential Graphics panel. By the end, you’ll be able to design clean titles, save reusable templates, and troubleshoot common layout issues.
Adobe Lightroom – Batch Editing Made Simple
Batch editing in Adobe Lightroom is a massive time-saver, especially when working with hundreds of photos from the same shoot or in a similar lighting environment. Rather than tweaking each image individually, you can apply consistent edits across multiple photos…
iPhone, iPad, & Mac – How to Sync Notes Across All Apple Devices
If you’ve ever jotted down a note on your iPhone and wished it instantly appeared on your Mac or iPad, you’re in luck. Apple makes it incredibly easy to sync your Notes app across all your devices using iCloud. This…
SEO for YouTube: 2025 Optimization Tips to Grow Your Channel
YouTube is no longer just a video-sharing platform—it’s the world’s second-largest search engine. That means if your videos aren’t optimized for SEO, you’re missing out on serious traffic. In 2025, YouTube’s algorithm has evolved to favor watch time, viewer satisfaction,…
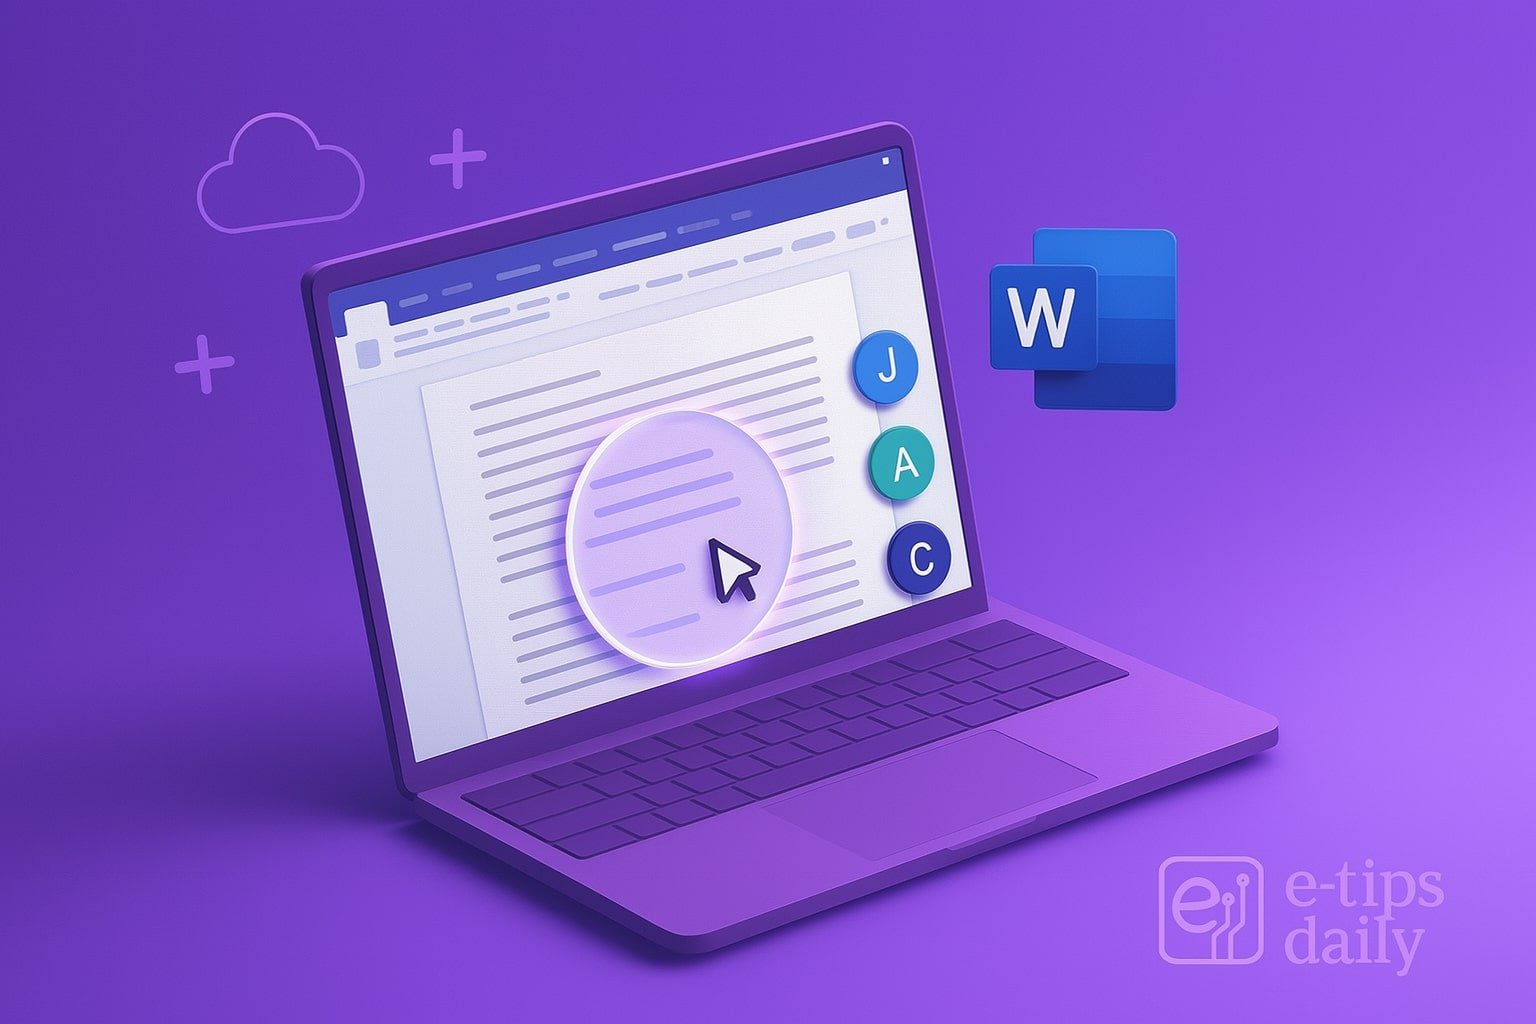
Mastering Advanced Styles & Formatting in MS Word (Ultimate Guide)
Want to make your Word documents look polished, consistent, and professional with minimal effort? Mastering styles and formatting is the key. This guide takes you beyond the basics into advanced techniques that save time, improve design, and ensure consistency across long documents.…

How to Use ChatGPT for Creative Writing
ChatGPT isn’t just a productivity tool—it’s a powerful writing partner for anyone working on creative projects. Whether you’re writing a short story, novel, poem, or screenplay, ChatGPT can help you brainstorm, structure, and refine your ideas. This guide will show…
Step-by-Step Guide to Using the Essential Graphics Panel
- Open the Essential Graphics Panel
Go to Window > Essential Graphics to activate the panel. Dock it next to your timeline or Program Monitor for easy access. - Create a New Graphics Layer
Select the Type Tool (T) in the toolbar and click on the Program Monitor. Start typing to create a new graphic layer automatically. - Use the Edit Tab for Customization
In the Essential Graphics panel, click the Edit tab. Here, you can modify text properties:- Font, Size, Fill Color, Stroke, and Shadow
- Align and Transform settings for centering and adjusting position
- Adjust Layer Order
In the Edit tab, layers are stackable. Drag them to rearrange or group multiple layers for complex graphics. - Add Shapes or Logos
Click New Layer > Rectangle or Ellipse to create basic shapes. Use New Layer > From File to import PNG or SVG logos. - Align and Distribute Graphics
Use the Align and Transform section to center elements or evenly distribute multiple layers. Enable Responsive Design – Position to pin items. - Animate with Keyframes
Select the layer in the Effect Controls panel. Use Position, Scale, or Opacity keyframes to create entry/exit animations. - Use the Browse Tab for Templates
The Browse tab lets you access pre-made Motion Graphics Templates (.mogrt). Drag and drop them onto your timeline and customize from the Edit tab. - Create Reusable Templates
After customizing a graphic, click Export As Motion Graphics Template (hamburger menu in the panel) to save it for future projects. - Adjust Duration and Timing
Click the graphic clip in the timeline and drag its ends to adjust length. You can also use the Rate Stretch Tool (R). - Preview and Fine-Tune
Scrub through your sequence to preview. Make micro-adjustments to font size, shape spacing, or animation timing.
Pro Tips & Workflow Improvements
- Use Master Styles to apply consistent formatting across multiple text layers.
- Group Layers to keep related elements together—great for logos with text.
- Keyboard Shortcut: Use
Ctrl + T(Windows) orCmd + T(Mac) to quickly insert a new text layer. - Enable Safe Margins in the Program Monitor to ensure your text stays within viewable areas.
- Favorite .mogrt Files in the Browse tab for fast access to frequently used templates.
Advanced Use Case: Responsive Design for Dynamic Layouts
Use Responsive Design – Time to protect intro/outro animations when adjusting graphic duration. Enable it in the Essential Graphics panel or Effect Controls, setting how many frames to preserve at the beginning and end.
Perfect for YouTube lower thirds or callouts that vary in length.
Troubleshooting & Common Mistakes
- Text Not Appearing: Make sure the text layer is selected and not positioned off-screen.
- Mogrt Not Editable: Only .mogrt files created in Premiere or properly packaged from After Effects can be fully edited.
- Font Missing Warning: Install the required font or replace it in the Edit tab.
- Layer Edits Not Updating: Try toggling visibility off/on or scrubbing the timeline to refresh.
- Slow Playback: Use Render In to Out or lower the playback resolution in the Program Monitor.
Conclusion
The Essential Graphics panel is a powerful design tool built right into Premiere Pro. By learning how to add, customize, and animate titles and graphics, you unlock a key part of creating professional, polished videos.
Now that you’ve mastered the basics, try combining graphics with color grading or audio effects for a complete storytelling package. Next up: learn how to create dynamic captions with transcription tools.