Veo3 is a powerful feature within Leonardo AI that refines your image-generation workflow—whether you’re crafting concept art, product renders, or abstract designs. In this comprehensive guide, you’ll gain mastery over Veo3 to produce stunning visuals efficiently and creatively.
- What Is Veo3? How Google’s AI Video Generator Works
- How to Use Veo3 in Leonardo AI (Step-by-Step Tutorial)
- How AI Generates Videos: Behind the Scenes of Veo3 and Other Tools
- Advanced Use Case: Animated Layer Sequencing
- Troubleshooting & Common Mistakes
- Troubleshooting & Common Mistakes (Continued)
- Conclusion
What Is Veo3? How Google’s AI Video Generator Works
Leonardo AI’s Veo3 mode offers precise control over image elements by enabling multiple prompt layers, seamless blending, and adjustable mask overlays. You’re not just generating visuals—you’re sculpting them with surgical accuracy.
- Why Veo3 matters: It empowers you to overlay, erase, refine, or recombine visual layers in one generation.
- What you’ll achieve: After this guide, you’ll be able to create multi-layered images with custom masks, apply texture and style selectively, and iterate creative tweaks quickly.
- Who it’s for: Ideal for concept artists, illustrators, UI/UX designers, and anyone seeking granular control over generated visuals.
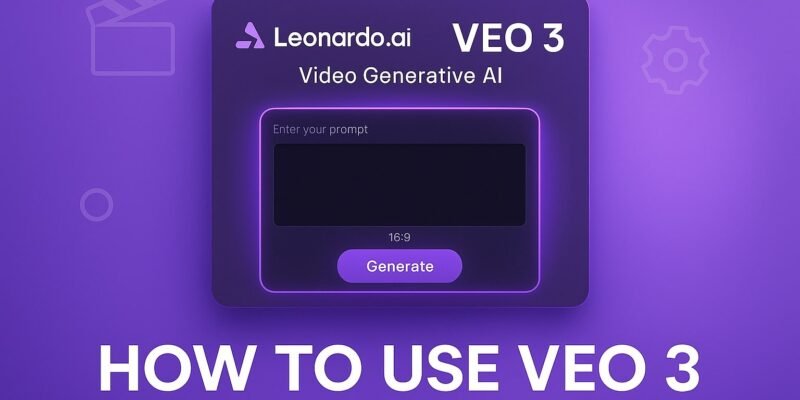
How to Use Veo3 in Leonardo AI (Step-by-Step Tutorial)
Here’s how to get started with Veo3 in Leonardo AI—follow these 10 action‑oriented steps:
- Launch Leonardo AI & Select Veo3
- Open Leonardo AI’s interface and choose “Veo3” mode. This mode appears alongside Veo1 and Veo2 in the production panel.
- Create a Base Layer
- In the Layer panel, click + Add Layer.
- Enter a prompt (e.g., “futuristic city skyline at dusk”) and adjust resolution and sampling steps.
- Click Generate to produce your base. This foundational image sets tone and composition.
- Add a Masked Refinement Layer
- Add another layer and upload a simple mask (black = excluded areas, white = included).
- Alternatively, use the built-in mask-drawing tools.
- Enter a prompt like “neon signage, reflective surfaces.” Set blend mode to “overlay” for subtle enhancement.
- Apply Targeted Styles or Textures
- Use mask areas to assign unique styles. For instance, mask windows to apply “soft light bleed”, and mask streets for “wet asphalt reflecting lights.”
- Modify style strength slider to balance intensity.
- Blend and Fine‑Tune Prompts
- Combine prompts across layers for synergy (e.g., “cyberpunk”, “moody atmosphere”).
- Adjust each layer’s opacity (e.g., base 100%, refinement 50%). Preview the combined image in real-time.
- Use the Eraser Tool
- To remove undesired parts, select a layer and paint with the eraser on the mask.
- Or, precisely replace sections using a tight mask and alternate prompts like “space-age skyscrapers.”
- Iterate with Re‑Sampling
- Don’t settle on one version—the Refresh/Resample button lets you tweak seeds or prompt wording while preserving masks.
- Save your favorite iterations as named snapshots.
- Add a Glow or Light Flare Layer
- Create a new “Glow” layer. Use an all-black mask and paint over areas needing glow (e.g., neon signs).
- Enter prompt: “radiant neon glow, bloom effect.” Blend mode: “screen” or “add.”
- Fine‑Adjust Color Grading Layer
- Add a top-level Color Grading layer with a soft mask covering the whole image.
- Prompt with “filmic tone, muted cyan–orange palette.”
- Lower opacity (~30%) for subtle style shift.
- Export Your Final Composite
- Use “Compose & Export” to automatically merge all layers into full‑res PNG or PSD.
- PSD export preserves masks and individual layers, perfect for further refinement in apps like Photoshop.
How AI Generates Videos: Behind the Scenes of Veo3 and Other Tools
- Use Alpha Masking for Detailing
- Export alpha masks from Veo3 and re-import them as new layers for perfect segmentation control.
- Blend with Top‑Down Workflow
- Work from broad strokes (composition) to micro-details (texture), finishing with color grading and glow.
- Copy‑Modify Layers for Variants
- Duplicate layers and adjust prompts or masks to create image variations with minimal effort.
- Leverage Reference Images
- Upload reference pics (e.g., neon signs) to guide realism. Use “Image Conditioning” mode in Veo3.
- Batch‑Generate Layers Using Macros
- Use Leonardo AI macros to auto-create multiple refinement layers—helpful when crafting thematic collections.
Advanced Use Case: Animated Layer Sequencing
Take your project further by animating layer blends across multiple frames:
- Set timeline markers in Leonardo AI (if your plan supports animation).
- Adjust opacity curves of glow and color layers across frames.
- Generate frame-by-frame PNGs and compile in After Effects or Premiere for a dynamic reveal reveal layer-by-layer.
Troubleshooting & Common Mistakes
| Issue | Message | Fix |
|---|---|---|
| Mask bleeding | Edges appearing fuzzy or misplaced. | Zoom in and refine mask manually, increase brush hardness. |
| Over-stylized result | “Too much glow/texturing.” | Reduce layer opacity, tone down prompt modifiers like “intense/glaring.” |
| Composition looks off | “Elements seem out of scale or oddly placed.” | Use a new “Layout” layer with focused prompt (“foreground, midground, background”). |
| Export misses layers | “Final image didn’t include color grade or glow.” | Ensure all layers are enabled before export; “export PSD” preserves them. |
| Slow renders | “Layers taking too long to generate.” | Lower resolution during prototyping (e.g., 512×512), then upscale when ready. Or try Enhanced Speed mode under preferences. |
Troubleshooting & Common Mistakes (Continued)
- Prompt repetition error: Avoid duplicating words across layers. Instead, use unique modifiers per layer to diversify output.
- Mask alignment shifts: Lock mask and layer when applying adjustments or moving object segments.
- Color flooding: If color layer washes out design, try blending mode alternatives like “soft light” instead of “overlay.”
Conclusion
You now have a robust understanding of Leonardo AI’s Veo3—from loading base imagery to layering refinement, glow, and color. You can confidently create complex visuals with surgical precision, iterate effortlessly, and produce final composites ready for high-resolution export.