Vectorizing an image in Adobe Illustrator is a powerful way to turn pixel-based images (like JPGs or PNGs) into scalable vector artwork. This is ideal for logos, illustrations, and any graphics that need to maintain crisp quality at any size.
In this guide, you’ll learn exactly how to convert any raster image into vector format using Illustrator’s built-in tools. Whether you’re cleaning up a hand-drawn sketch or digitizing a logo, these steps will help you get professional results.
Step-by-Step Guide
- Open Your Image in Illustrator
- Launch Illustrator and go to File > Open to select your image.
- Supported formats include JPG, PNG, BMP, and more.
- Select the Image: Click on the image with the Selection Tool (V) to highlight it.
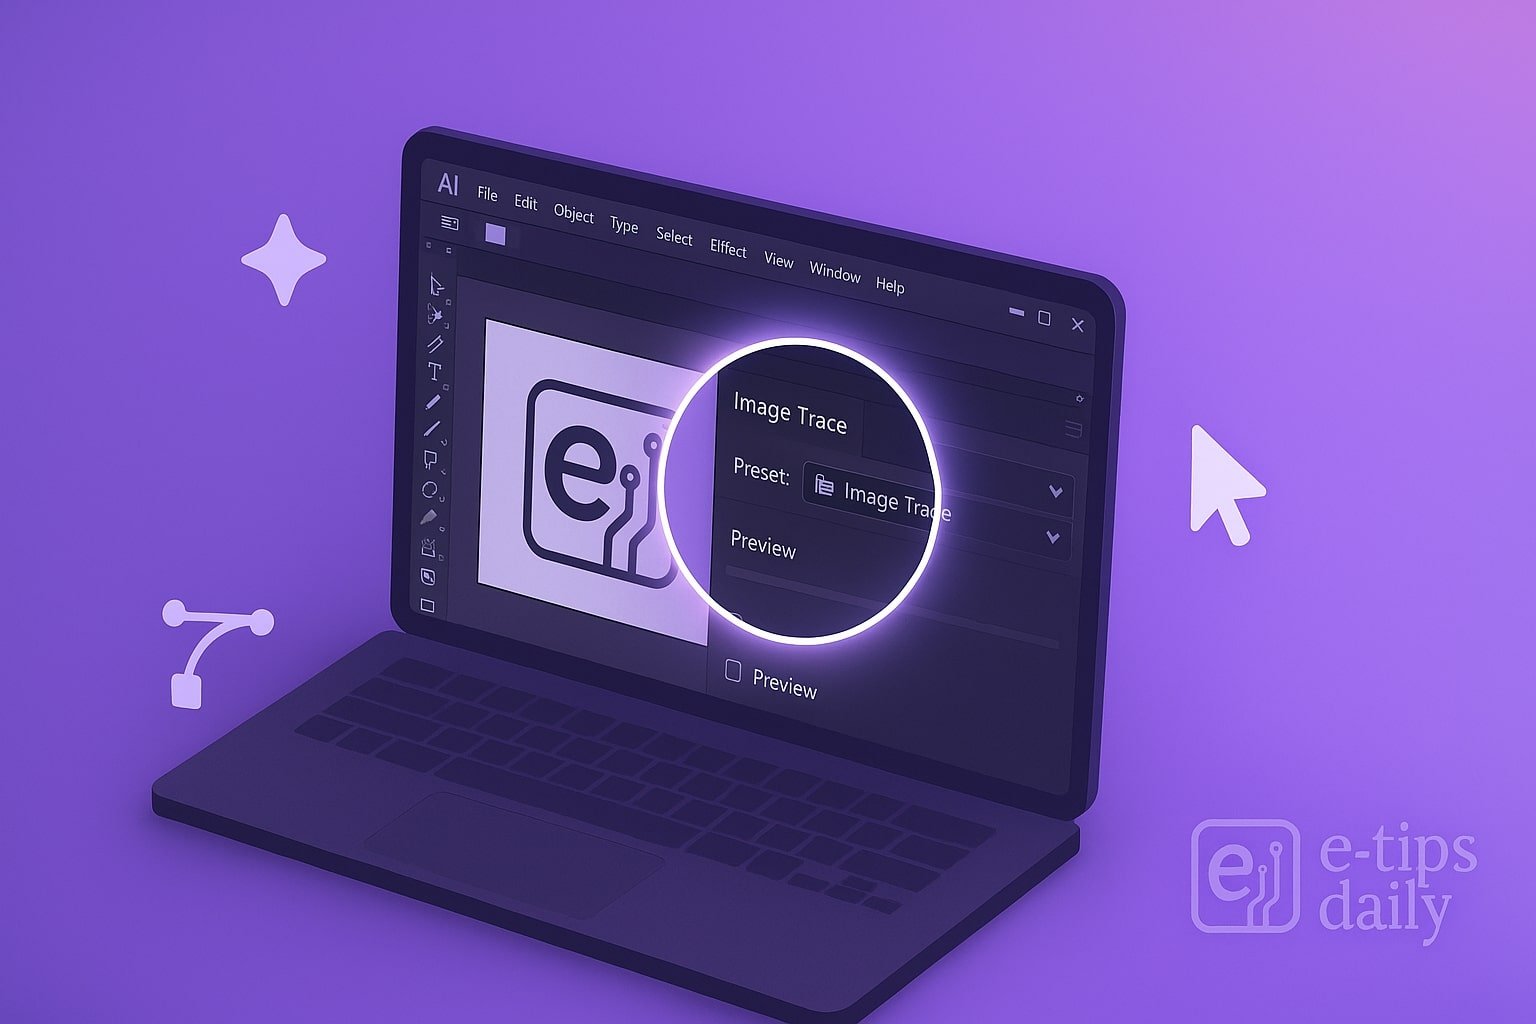
- Open the Image Trace Panel
- Go to Window > Image Trace to bring up the panel.
- Alternatively, click Image Trace on the top toolbar when the image is selected.
- Choose a Preset
- Try presets like High Fidelity Photo for detailed images or Black and White Logo for simple designs.
- Illustrator will auto-trace and preview the result.
- Adjust Trace Settings
- Fine-tune settings like Threshold, Paths, Corners, and Noise for better accuracy.
- Enable Preview to see real-time updates.
- Expand the Image
- Once satisfied, click Expand in the top toolbar.
- This turns the traced image into editable vector paths.
- Ungroup the Vector Shapes
- Right-click and choose Ungroup to separate individual shapes.
- Now you can select, delete, or recolor parts of the artwork.
- Clean Up Your Artwork
- Use the Direct Selection Tool (A) to refine paths.
- Remove unwanted background or artifacts.
- Save Your Vector File
- Go to File > Save As or Export > Export As.
- Choose formats like .AI, .SVG, or .PDF for scalable results.
Pro Tips & Workflow Improvements
- Use Layers: Place your raster image on a separate layer and lock it before tracing.
- Trace in Monochrome First: For complex logos, start in black and white to simplify details.
- Simplify Paths: Use Object > Path > Simplify to reduce anchor points without losing shape.
- Live Paint Bucket: Convert traced art to Live Paint groups for fast coloring.
- Preserve Detail: Start with a high-resolution image for the best trace results.
Advanced Use Case: Batch Vectorization with Actions
If you need to vectorize multiple images, create an Action:
- Open Window > Actions and record a new action while vectorizing one image.
- Then use File > Automate > Batch to apply the same steps to a folder of images.
Troubleshooting & Common Mistakes
- Blurry Results? Use a higher-resolution source image.
- Too Many Anchor Points? Use Simplify to clean it up.
- Missing Details? Adjust Threshold or switch to a higher-detail preset.
- Ungroup Not Working? Make sure you’ve clicked Expand first.
- Can’t Select Individual Parts? You may need to release compound paths or ungroup again.
Conclusion
Vectorizing in Illustrator is a must-know skill for clean, professional graphics. Once you get comfortable with the Image Trace tool and settings, you can turn almost any image into scalable artwork. Practice on different types of images to refine your process—and next, try learning how to create custom vector shapes or use the Pen Tool like a pro!